Step 1: Insert an Oval Shape:
- Open your Google Slides presentation.
- Click on the slide where you want to add the circular image.
- Click on the
Insertmenu at the top. - Choose
Shapes, then select the "Oval" shape.

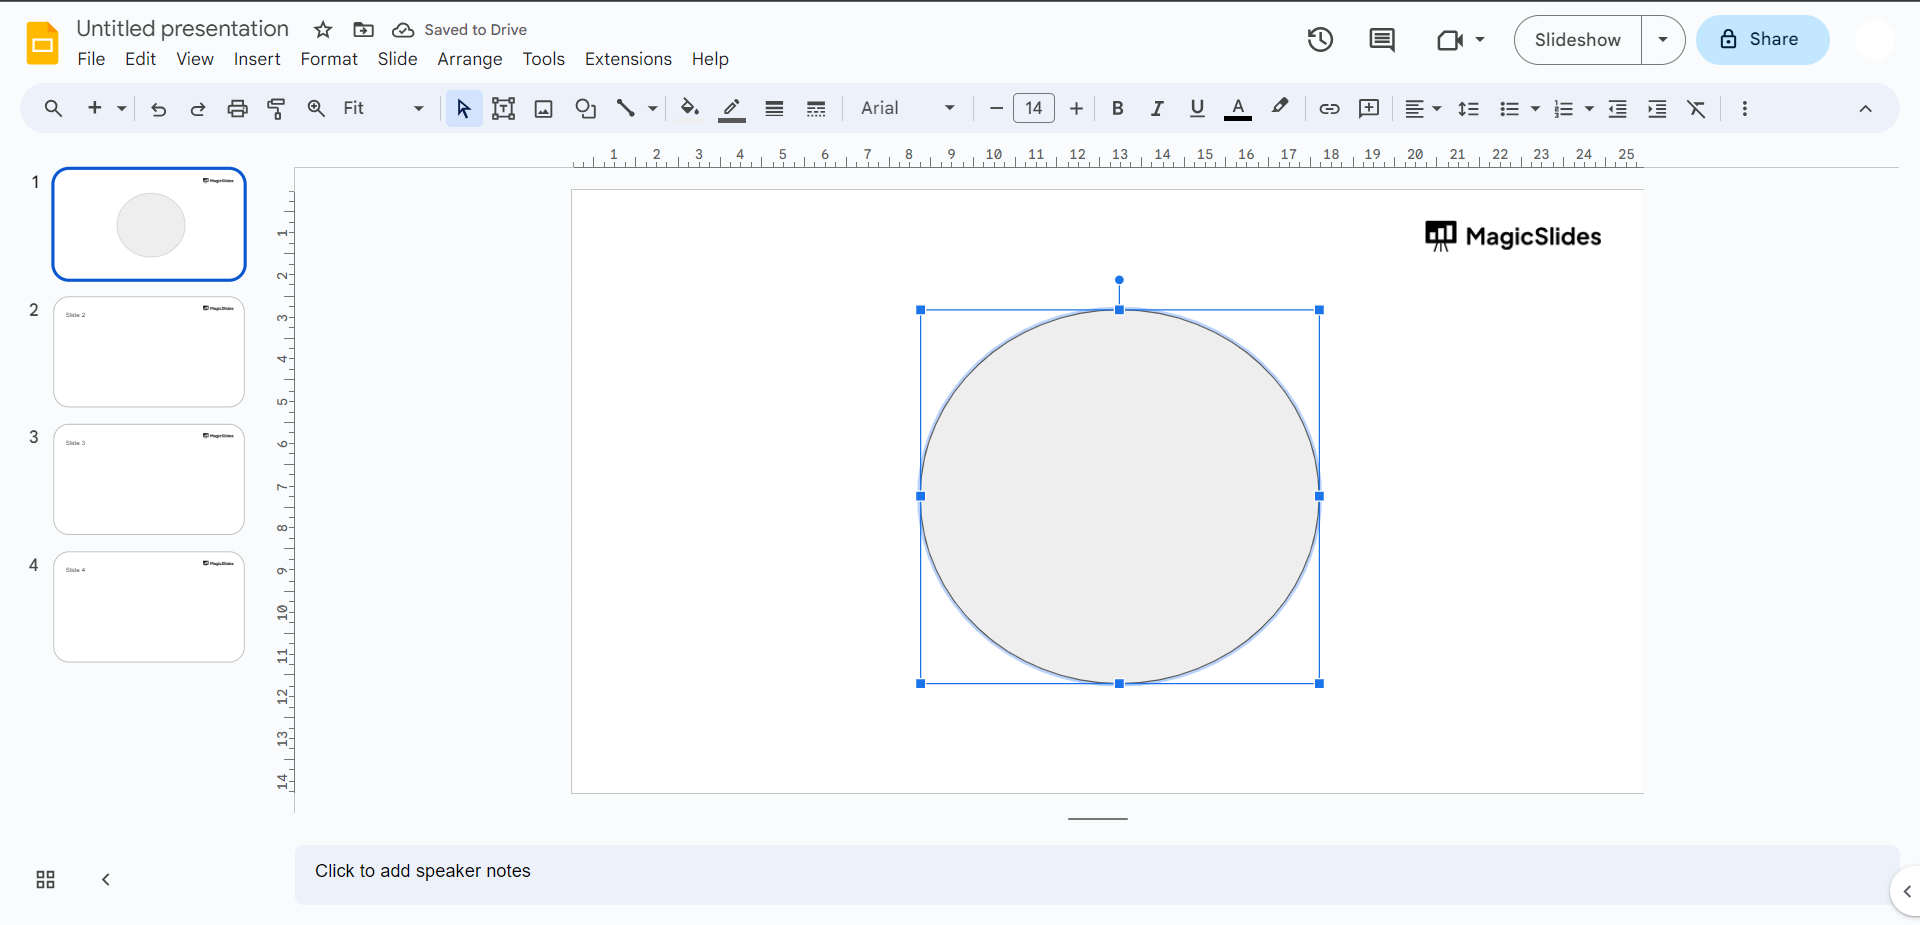
Step 2: Draw the Oval:
- Click and drag to draw an oval shape on your slide.
- Hold down the
Shiftkey while dragging to create a perfect circle.
Step 3: Fill the Oval Shape:
- With the oval shape selected, click on the
Fill coloroption (it might look like a paint bucket icon) in the toolbar.
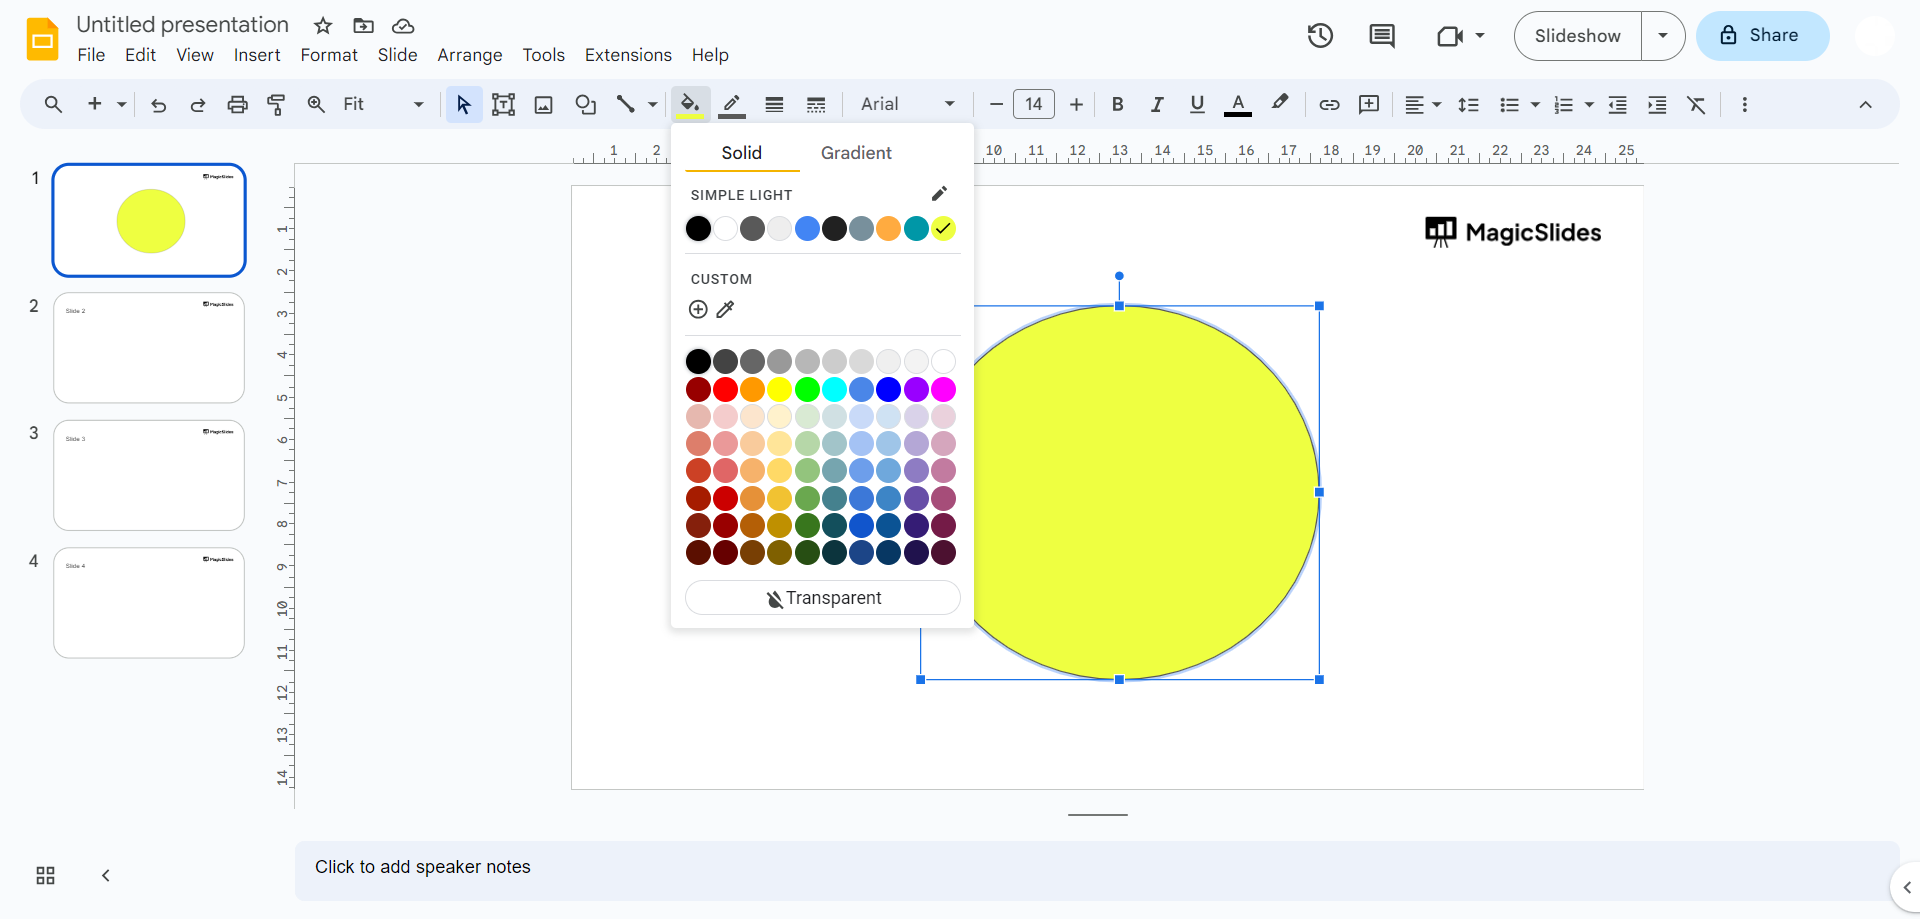
- Choose the color you want for the circular background. You can choose a color that matches your slide's background or a transparent color.
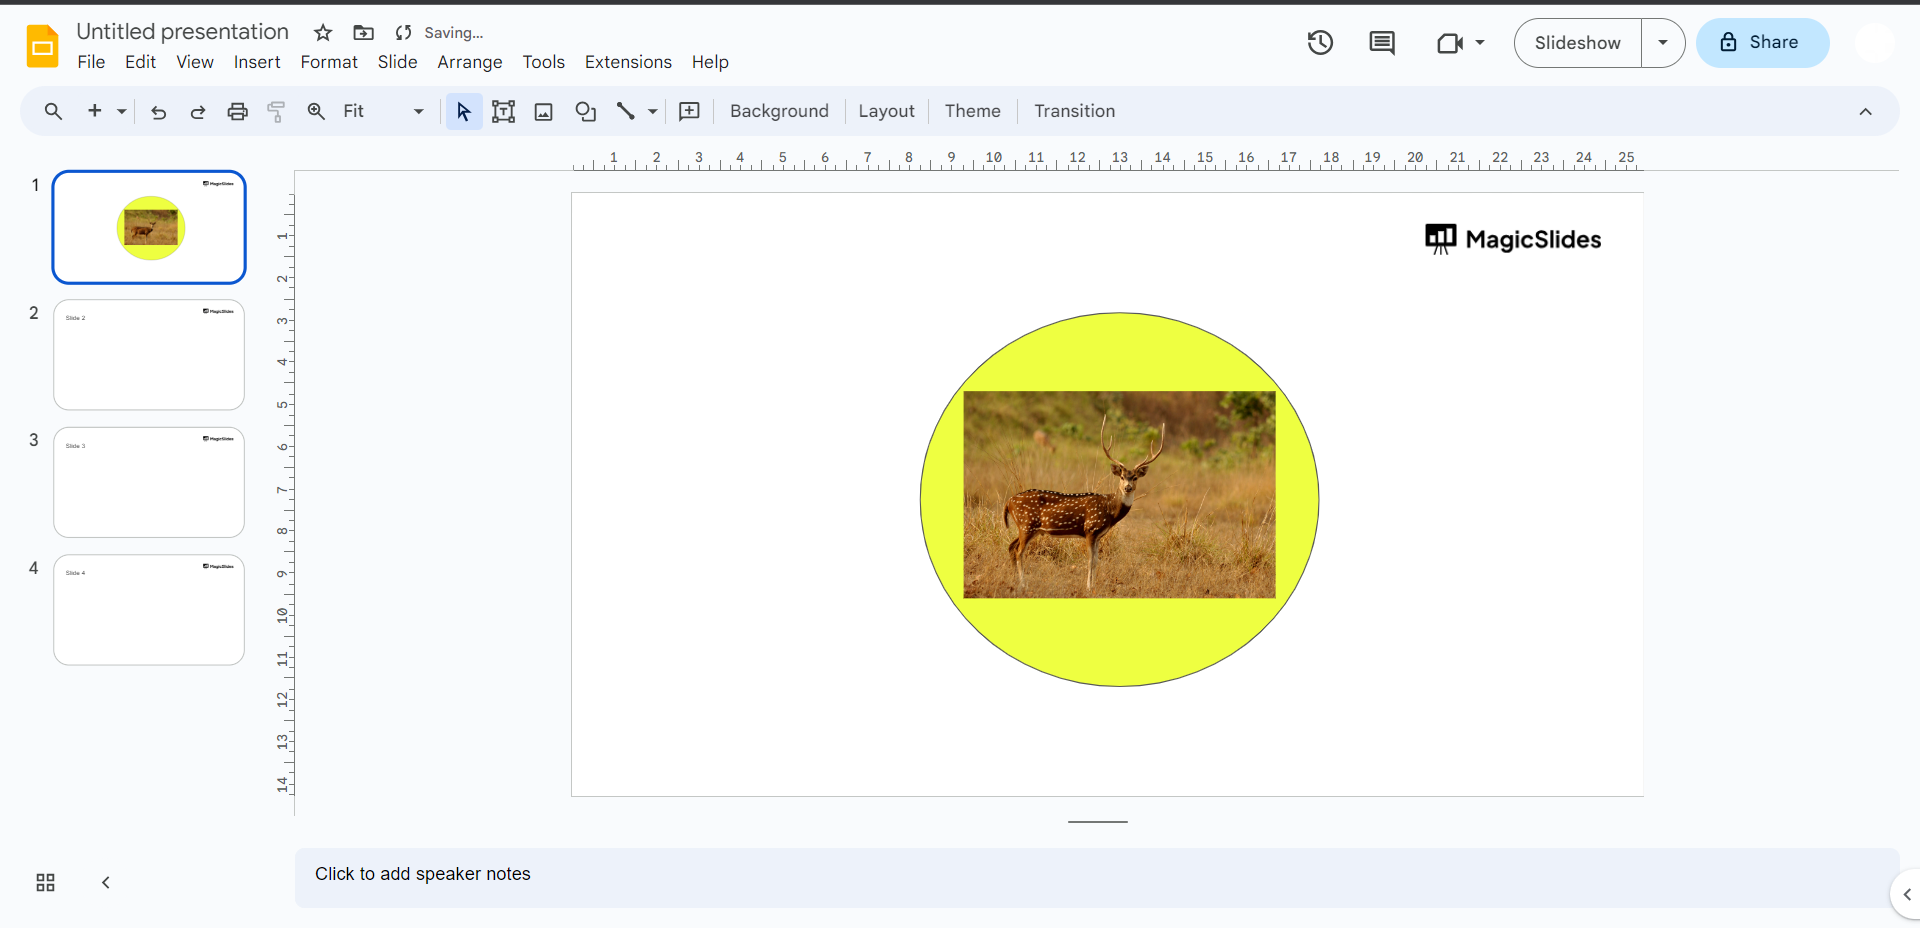
Step 4: Position the Oval:
- Move and resize the oval shape to fit around the image you want to make circular.
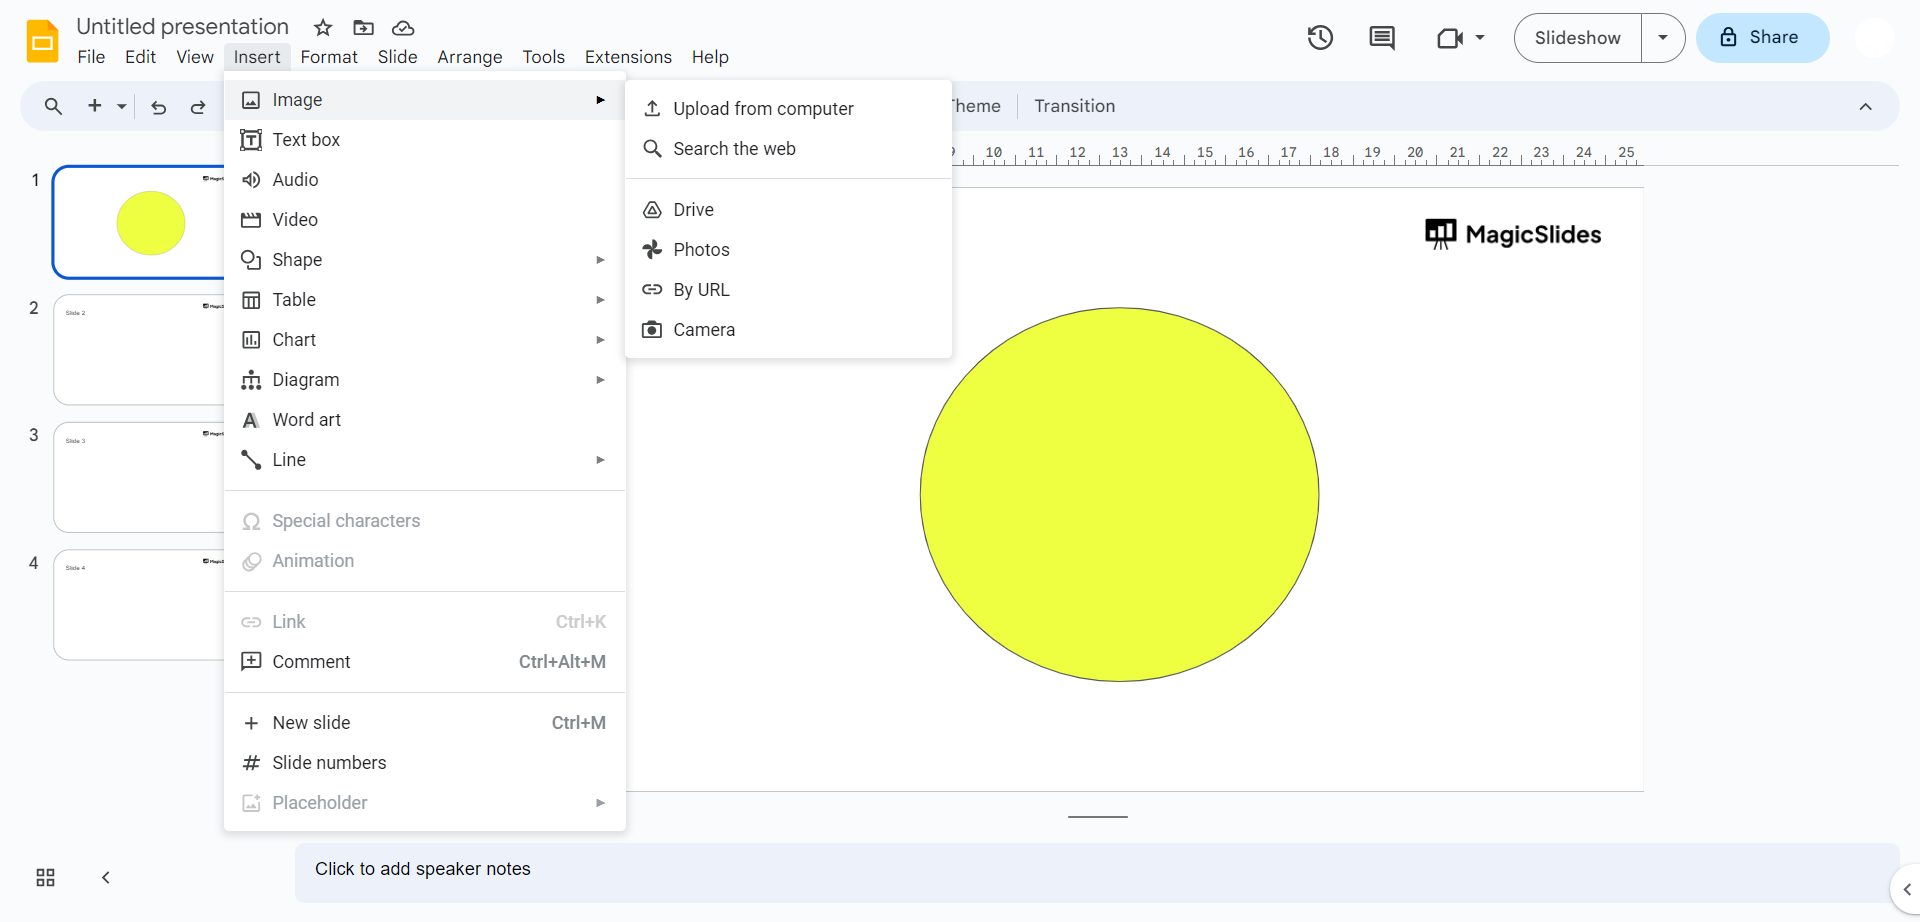
Step 5: Insert the Image:
- Click on the slide again to deselect the oval shape.
- Click on the
Insertmenu, then chooseImage. - Select the image you want to insert.
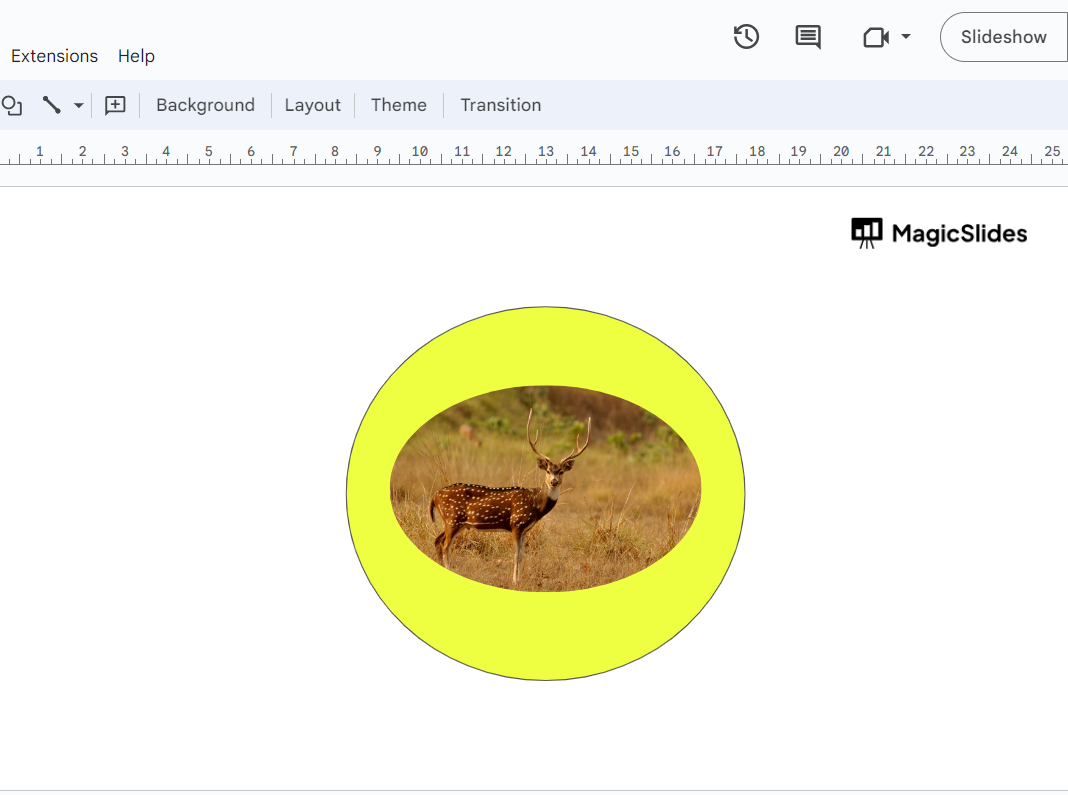
Step 6: Crop the Image:
- Click on the inserted image to select it.
- In the toolbar, click on the
Image optionsicon (looks like a mountain with a sun). - In the sidebar that appears on the right, click on the "Crop" tab.
- Adjust the cropping handles to fit the image within the oval shape. Make sure to position the image such that it appears circular within the oval.
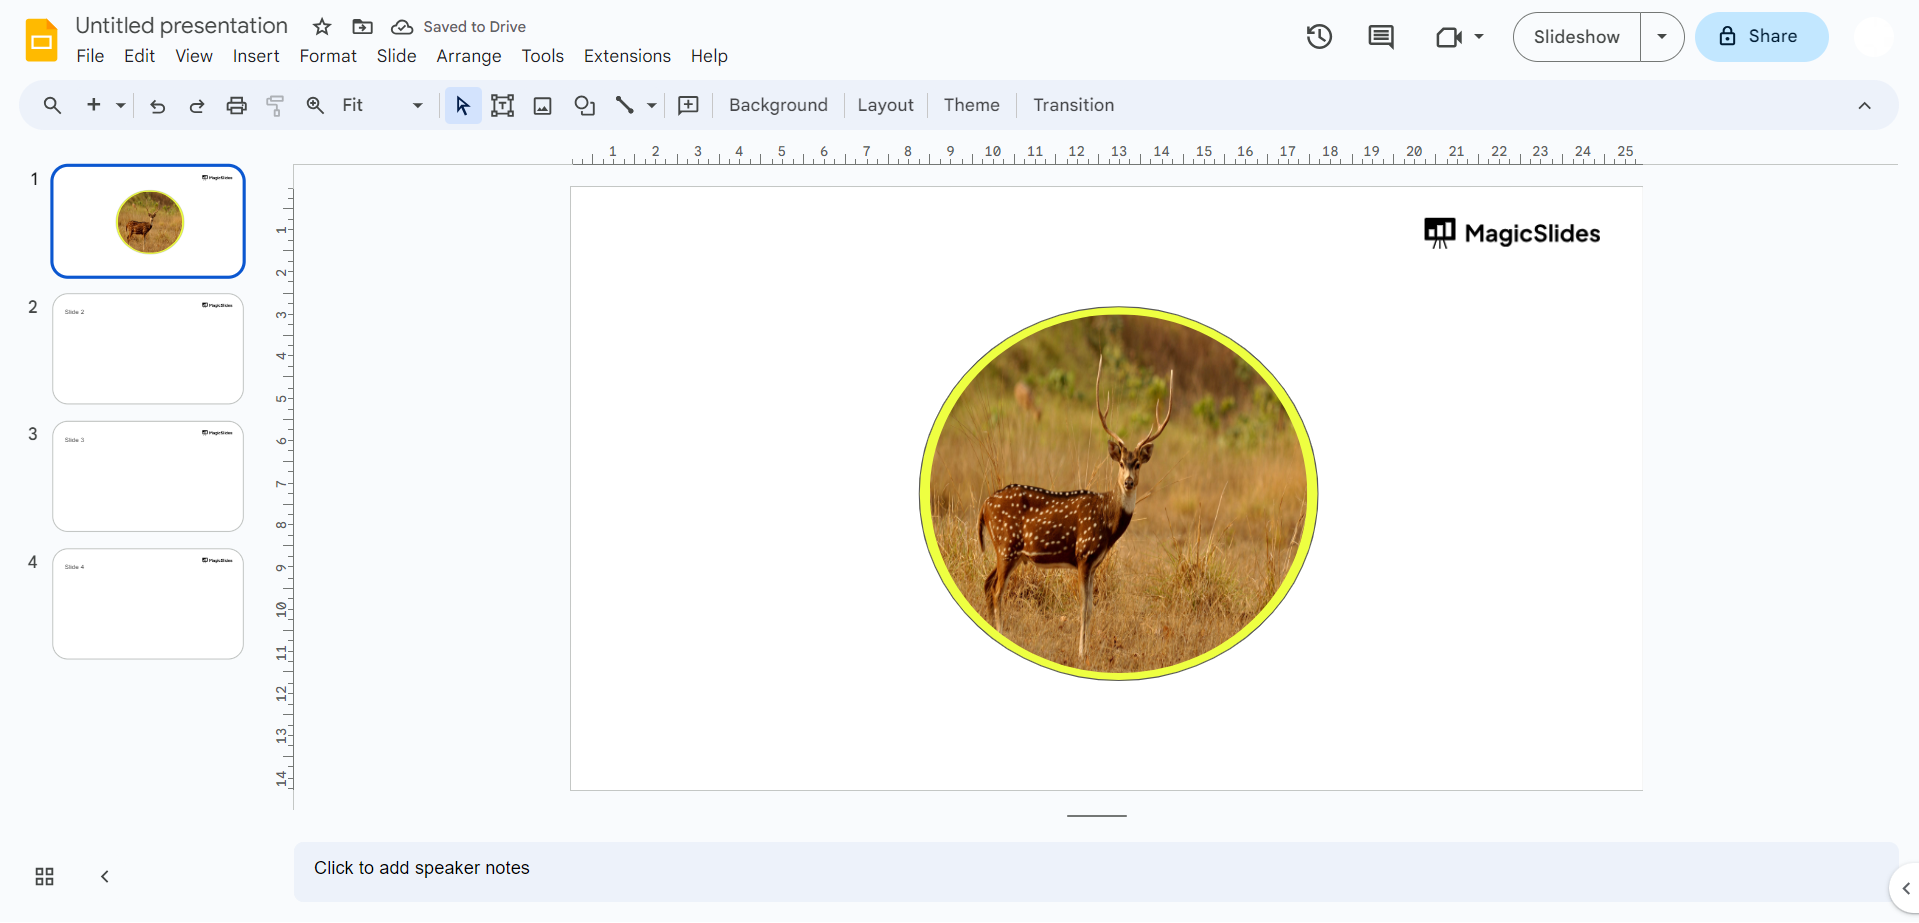
Step 7: Arrange Layers:
- If the oval shape is covering the image, right-click the oval shape and choose "Order," then select "Send to back." This will place the oval shape behind the image.
- Now click the arrow beside crop symbol, a drop down appears select oval in that list.
Step 8: Adjust as Needed:
- Fine-tune the position and size of the image and oval shape to achieve the desired circular image effect or if you find the background shape disturbing you can choose to remove it as well.
Leave a Reply