To crop a picture into a circle in PowerPoint, select the image, open the Picture Format tab, choose Crop> Crop to Shape> Oval, and then set the Aspect Ratio to 1:1. This converts the image into a perfect circle. You can then reposition the photo within the circular frame and click outside the image to apply the crop.
Cropping a picture into a circle in PowerPoint is a great way to create visually appealing images for your presentations.
Whether you’re working on a professional slide deck, a presentation on Psychology Topics, or a personal project, circular images can add a unique and polished look to your slides.
In this blog post, we’ll guide you through the process of cropping a picture into a circle in PowerPoint, step by step.
By the end of this tutorial, you’ll be able to transform your rectangular images into perfect circles, enhancing the overall design of your presentation.
Why Learn How to Crop a Picture into a Circle in PowerPoint?
Making a change to the way your picture looks can make a big difference in how professional your presentation looks. That is why many people want to learn how to crop a picture into a circle in PowerPoint.
When you crop a picture into a circle in PowerPoint it makes your presentation look cleaner and more consistent. Cropping a picture into a circle in PowerPoint also helps the important pictures stand out without taking up much space on the slide.
You will see pictures cropped into circles in PowerPoint in business presentations company profiles, employee directories, training materials and speaker introduction slides. Of using the usual rectangular pictures with backgrounds that distract you cropping a picture into a circle in PowerPoint helps you focus on the person or thing in the picture.
Cropping a picture into a circle in PowerPoint is very useful when you are showing pictures of team members, customer testimonials, leadership profiles or case studies. When all the pictures are cropped into circles in PowerPoint the slide looks more organized and easier to look at. Another good thing about cropping a picture into a circle in PowerPoint is that it is easy to do and you can always change it back if you want to.
How to Crop a Picture into a Circle in Powerpoint?
Step 1. Insert the Picture
To get started, open your PowerPoint presentation and navigate to the slide where you want to insert the picture.
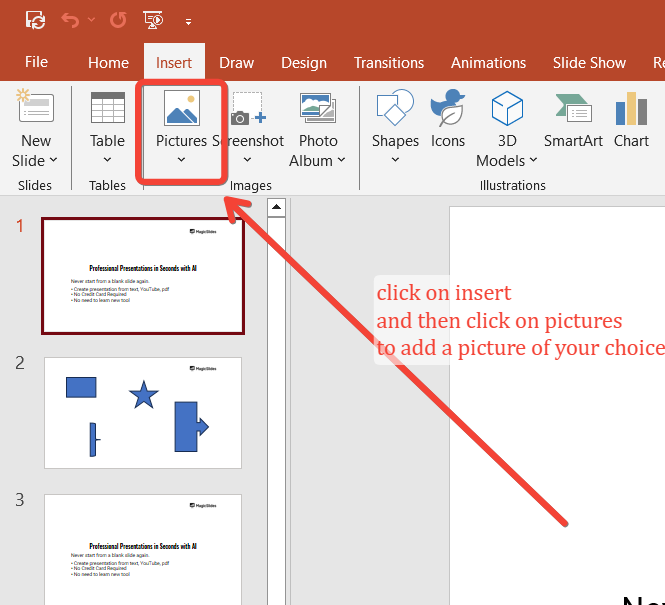
Click on the “Insert” tab in the PowerPoint ribbon at the top of the screen.
From there, select “Pictures” and choose the image you want to crop into a circle from your computer.
Step 2: Select the Picture
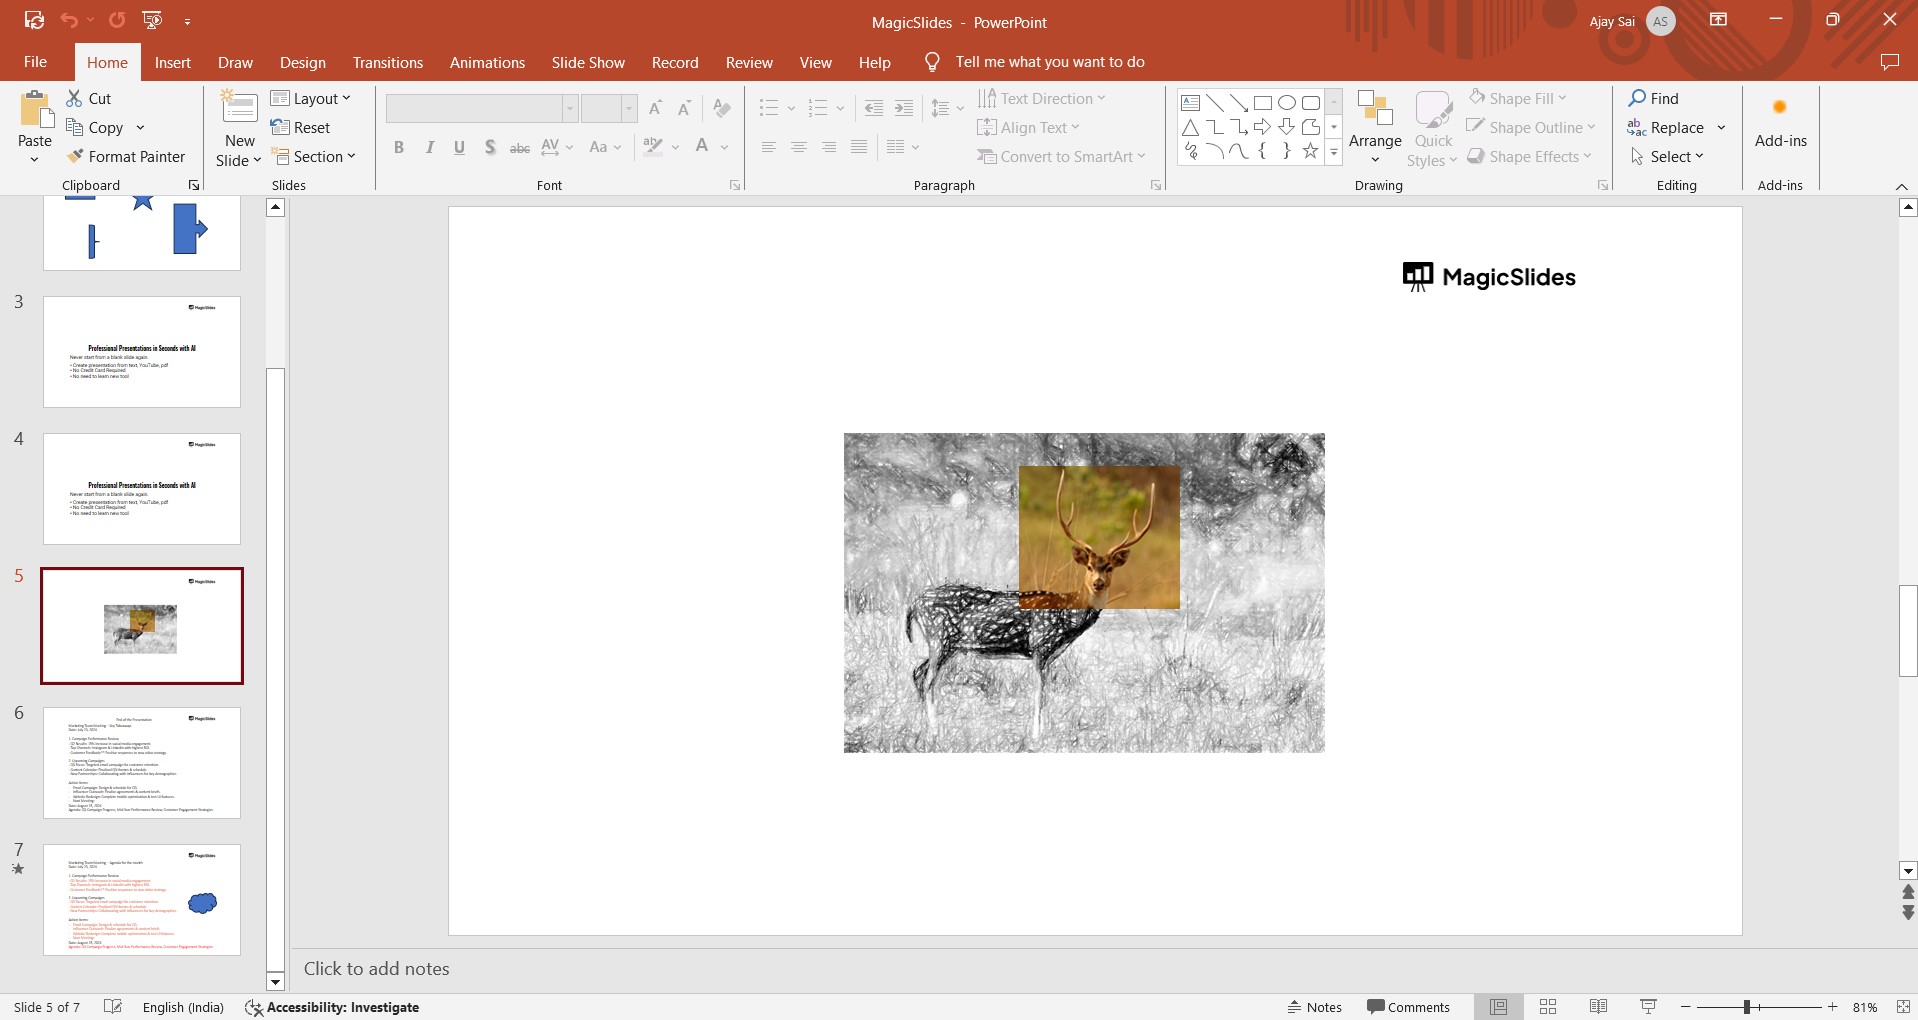
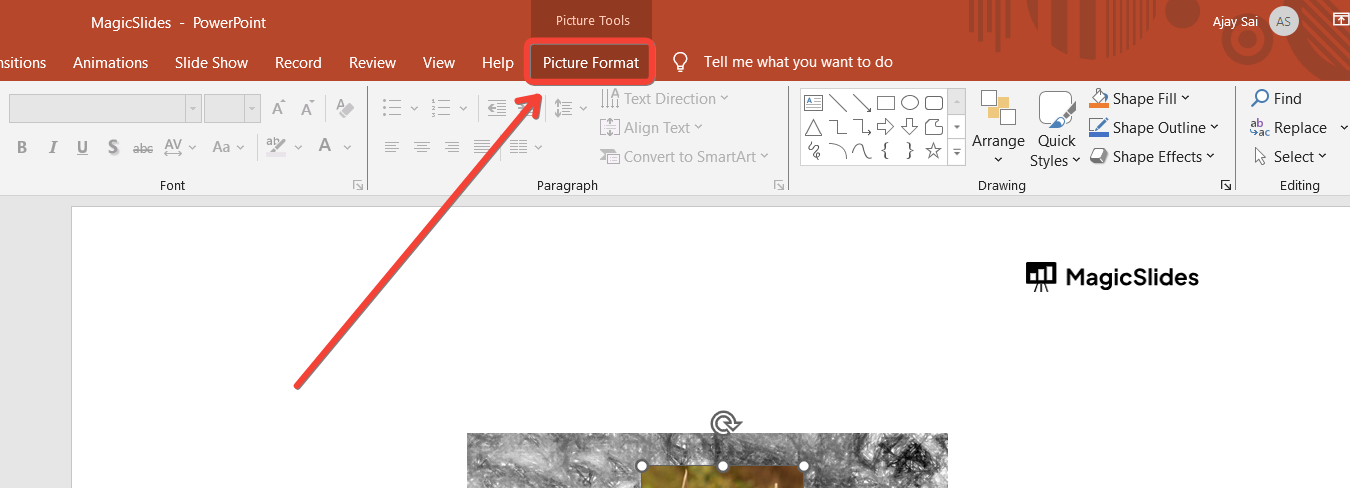
Once your picture is inserted into the slide, click on it to select it.
This will bring up the “Picture Format” tab in the ribbon, where you’ll find various options for editing your image.
Step 3: Open the Crop Tool
With the picture selected, go to the “Picture Format” tab and click on the “Crop” button, located in the “Size” group.
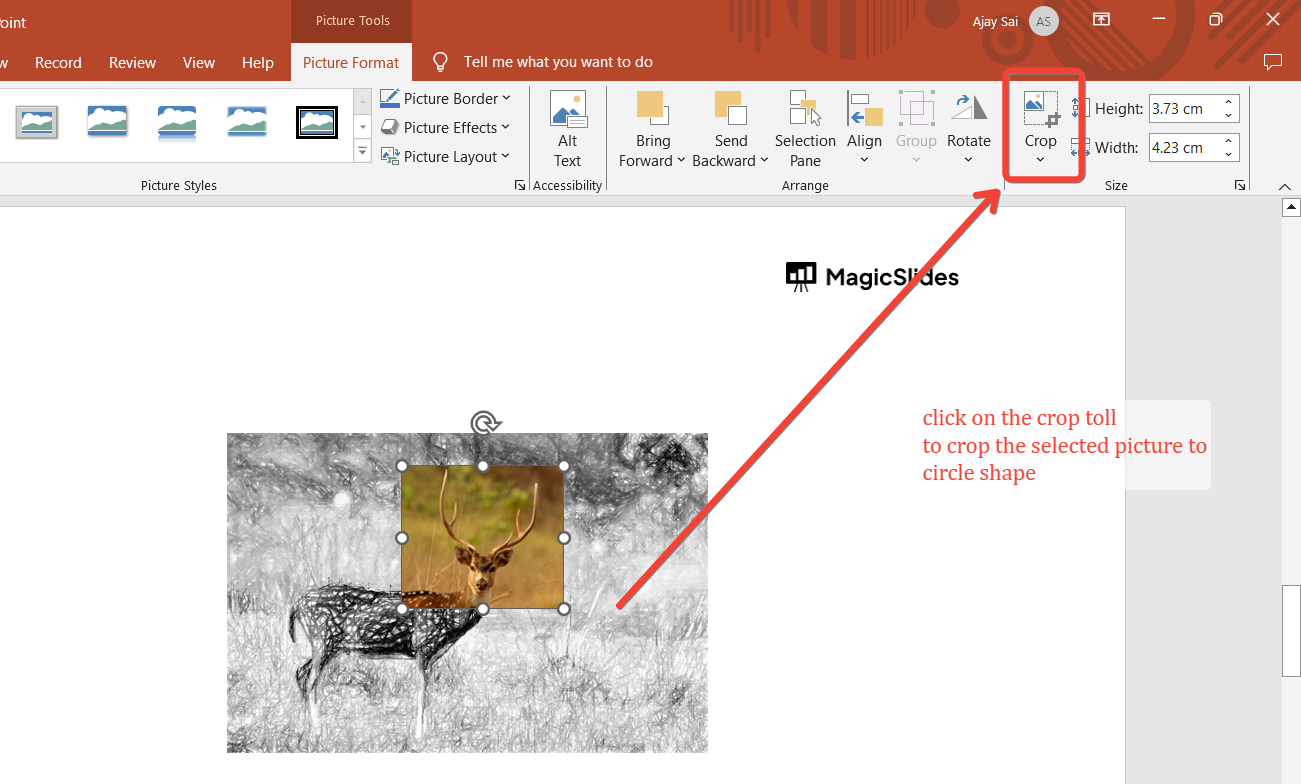
A dropdown menu will appear, showing different cropping options.
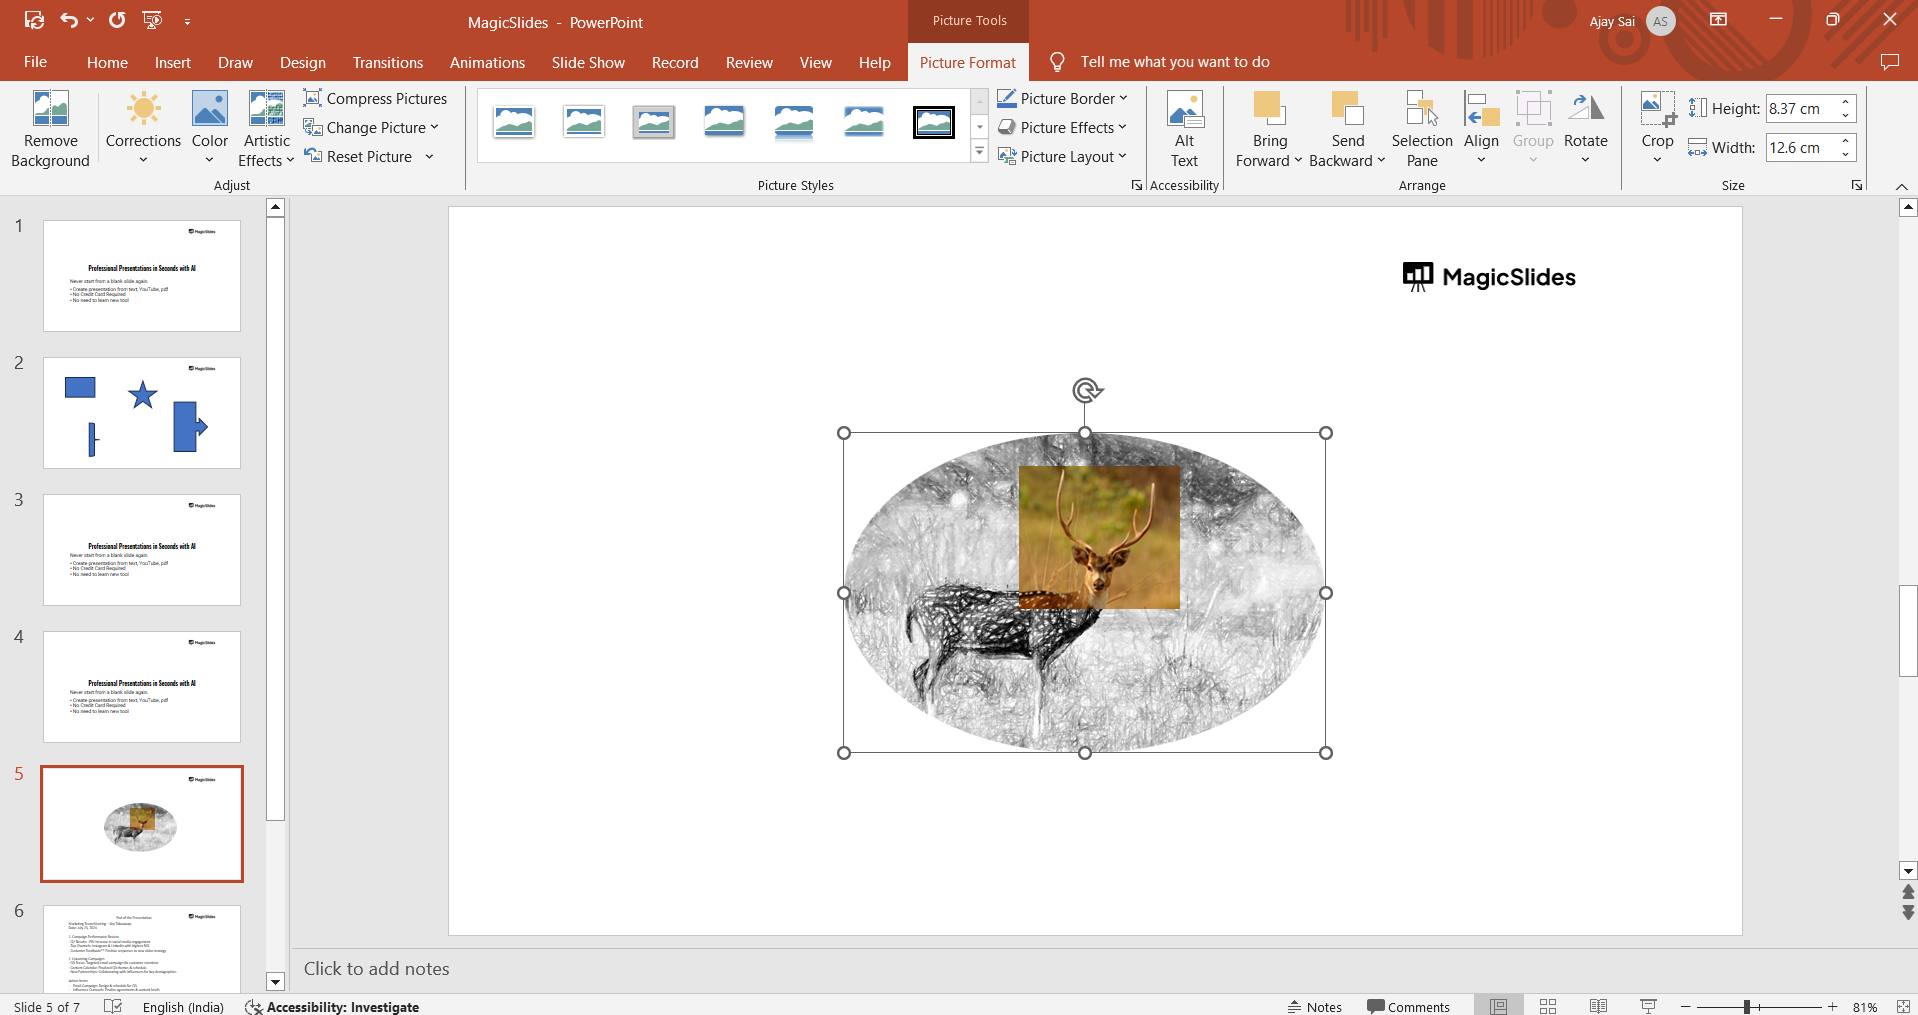
Step 4: Choose the Shape for Cropping
From the “Crop” dropdown menu, select “Crop to Shape.” A gallery of shapes will appear.

Scroll down and click on the circle or oval shape (under “Basic Shapes”). This will immediately crop your picture into an oval shape.
Step 5: Adjust the Aspect Ratio to Create a Perfect Circle
To ensure that your picture is cropped into a perfect circle, you need to adjust the aspect ratio.
While the picture is still selected, click on the “Crop” button again and choose “Aspect Ratio” from the dropdown menu. Then, select “1:1” from the list.
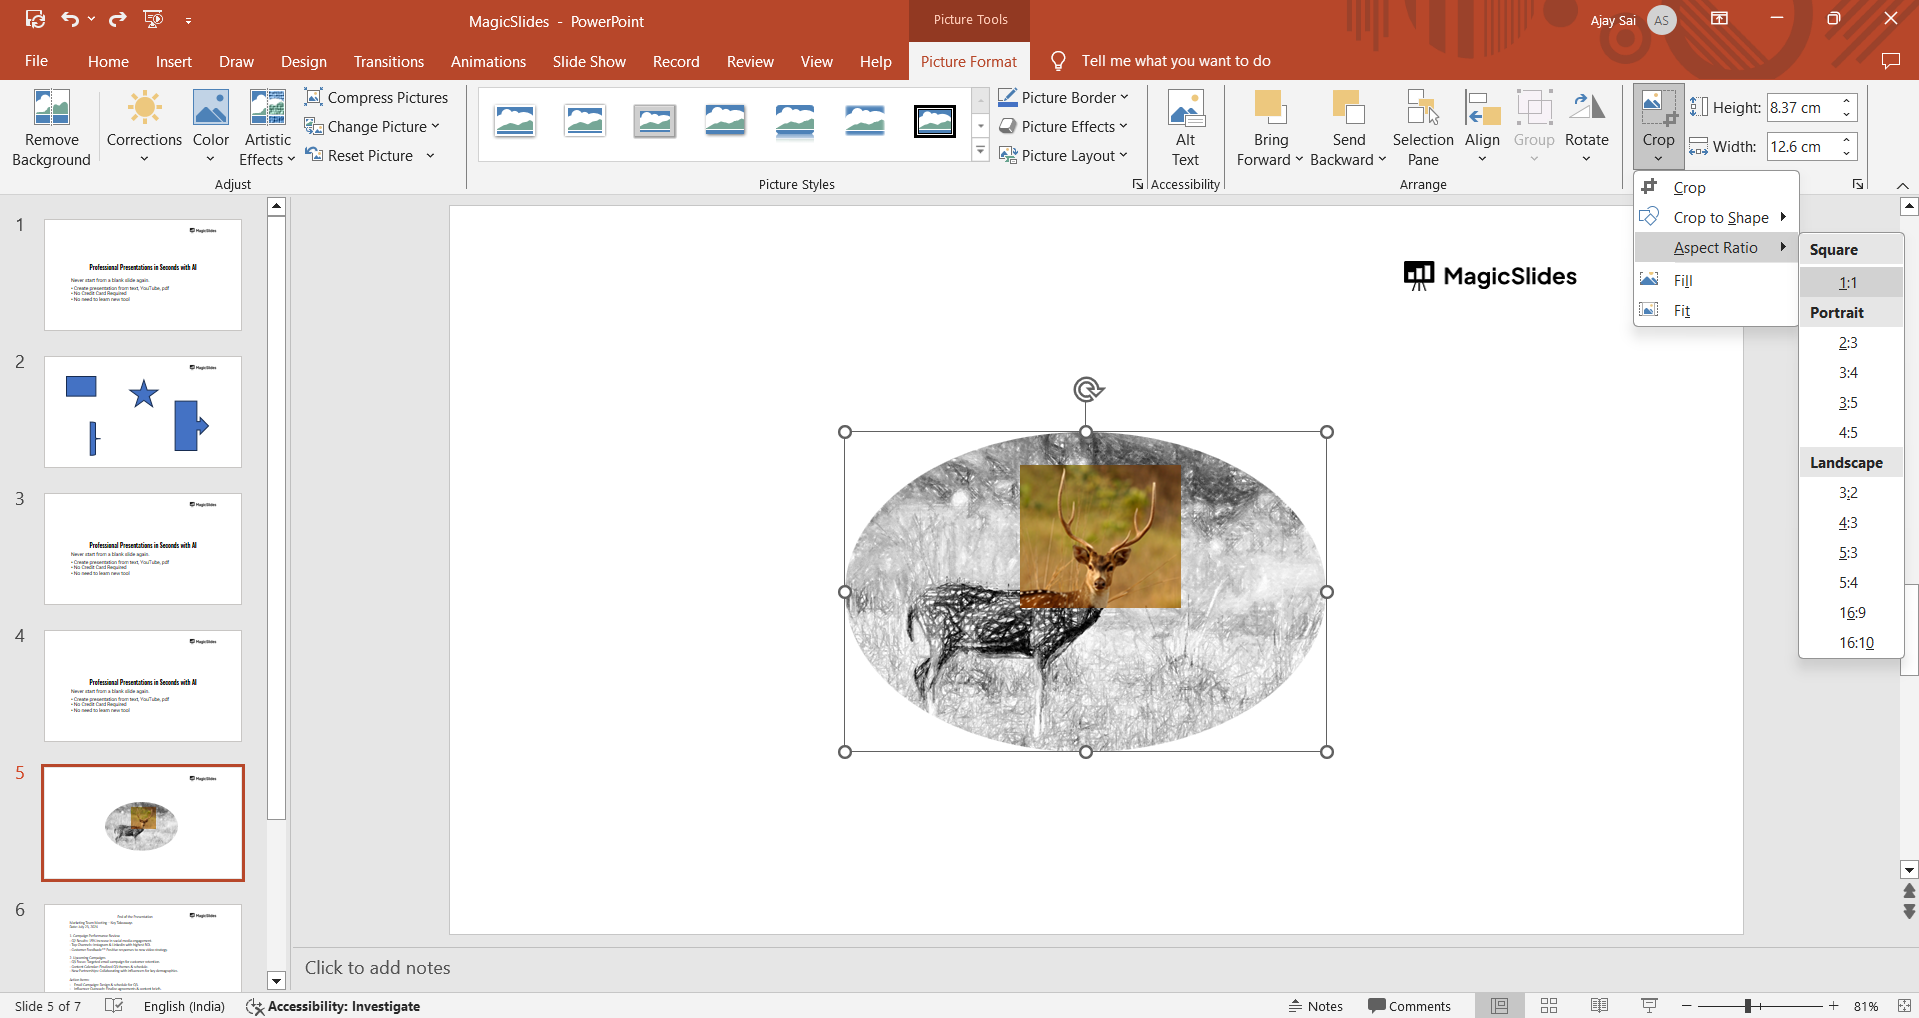
This will make the height and width of the cropped area equal, forming a perfect circle.
Step 6: Fine-Tune the Crop
After setting the aspect ratio, you may want to adjust the position of the image within the circle.
To do this, click on the “Crop” button once more, and you’ll see handles around the image.

Drag the image or the crop handles to reposition or resize the circular crop area as needed. When you’re satisfied with the result, click anywhere outside the picture to apply the crop.
Step 7: Apply Additional Formatting (Optional)
Once your image is cropped into a circle, you can apply additional formatting options to enhance its appearance.
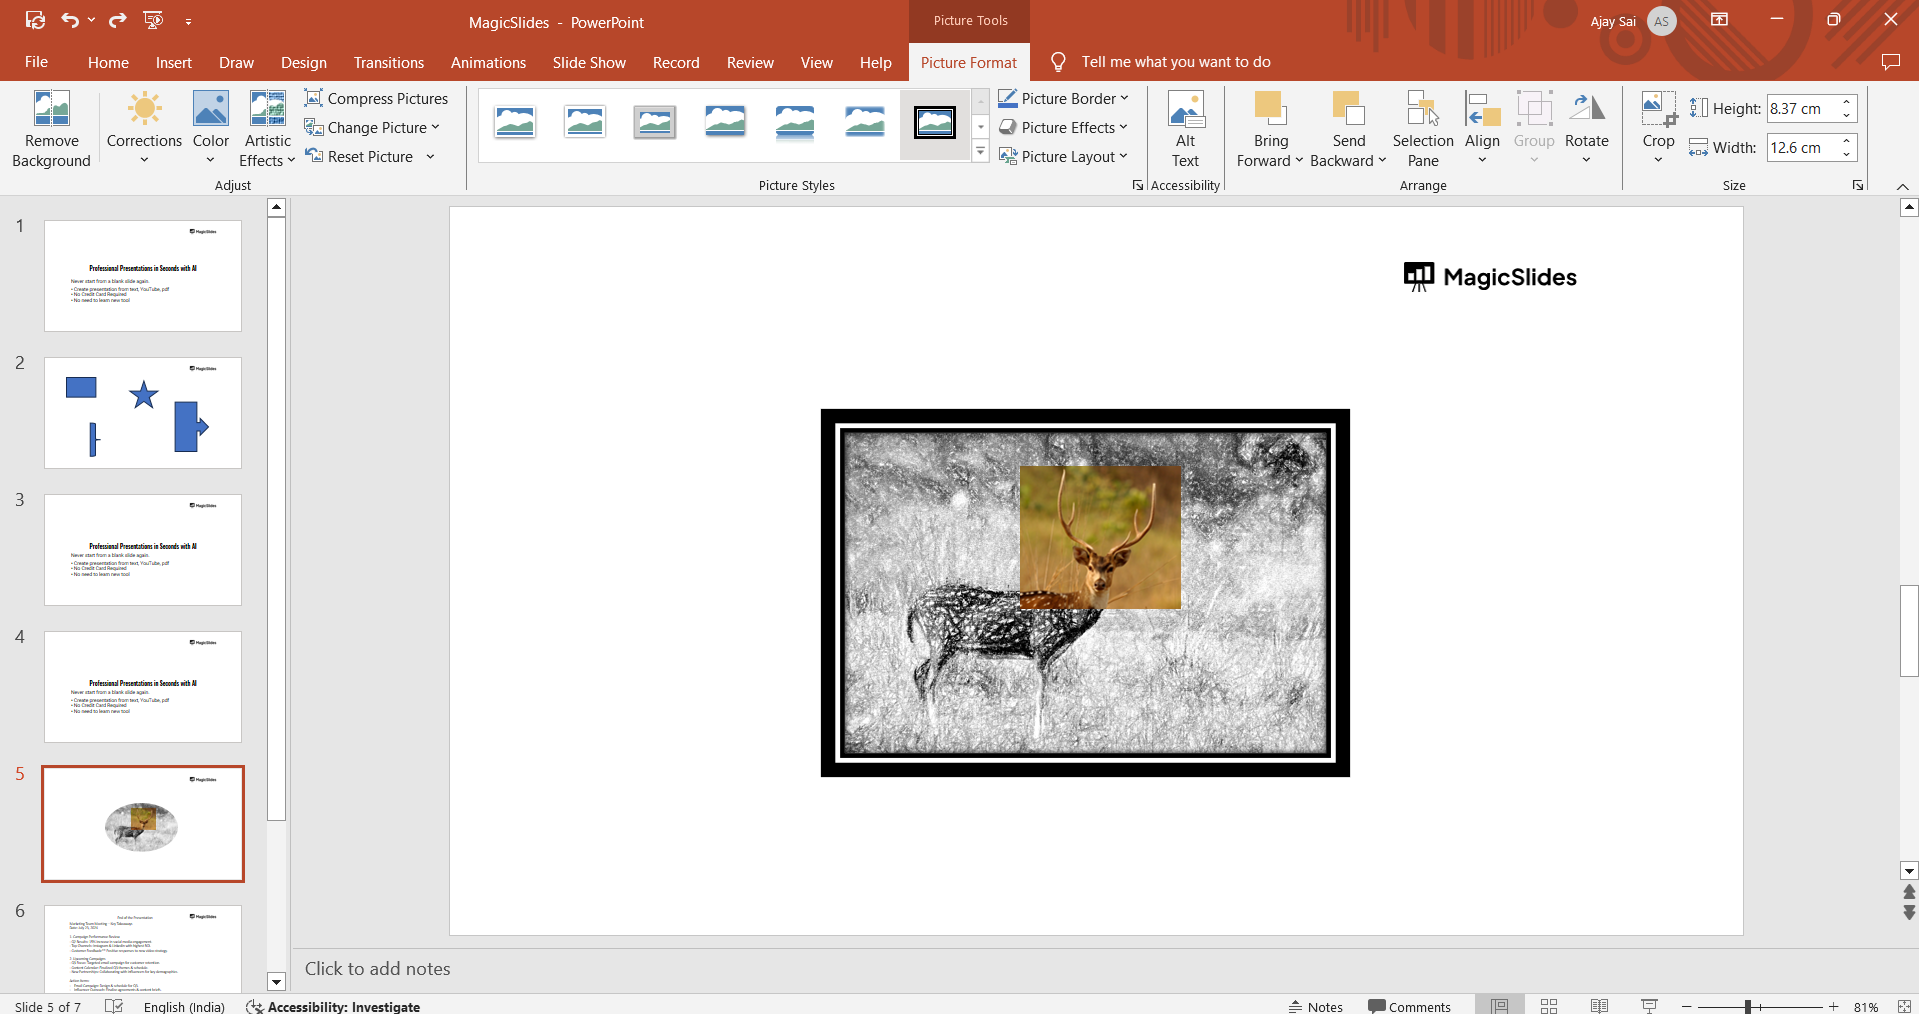
For example, you can add a border, shadow, or reflection effect to make the image stand out. These options are available in the “Picture Format” tab under “Picture Styles.”
Conclusion
Cropping a picture into a circle in PowerPoint is a simple yet effective way to elevate the visual appeal of your presentations.
By following these steps, you can easily transform any image into a circular shape, adding a professional touch to your slides.
Whether you’re working on a business presentation or a creative project, mastering this technique will help you create more dynamic and engaging content. Try it out in your next PowerPoint presentation and see the difference it makes!
Tired of making presentations? what if we tell you you can make presentation with just a prompt, convert YouTube videos to PPTs, convert website content to PPTs? Yes! checkout MagicsSlides AI Presentation Tool that does all and enjoy the free credits to make presentations in seconds.
It is an AI-powered presentation maker that generates complete presentations from a topic, document, PDF, YouTube video, URL, or prompt in minutes.
Once your slides are generated, you can easily customize them in PowerPoint, including adding circular profile photos, team member images, product visuals, and branded graphics using the techniques covered in this guide.
For professionals, educators, marketers, and students, it helps reduce the time spent creating slides while still giving you full control over the final presentation design.

FAQs are here to help!
Can I crop any picture into a circle in PowerPoint?
Yes, you can crop any picture into a circle using the “Crop to Shape” feature.
Will cropping a picture into a circle affect its quality?
No, cropping an image into a circle won’t reduce its quality, but resizing it too much might.
Can I revert the image back to its original shape after cropping?
Yes, you can revert to the original shape by selecting the image and removing the crop effect.
Leave a Reply