Step 1: Insert the Image:
- Open your Google Slides presentation.
- Click on the slide where you want to add the image.
- Click on the
Insertmenu at the top.
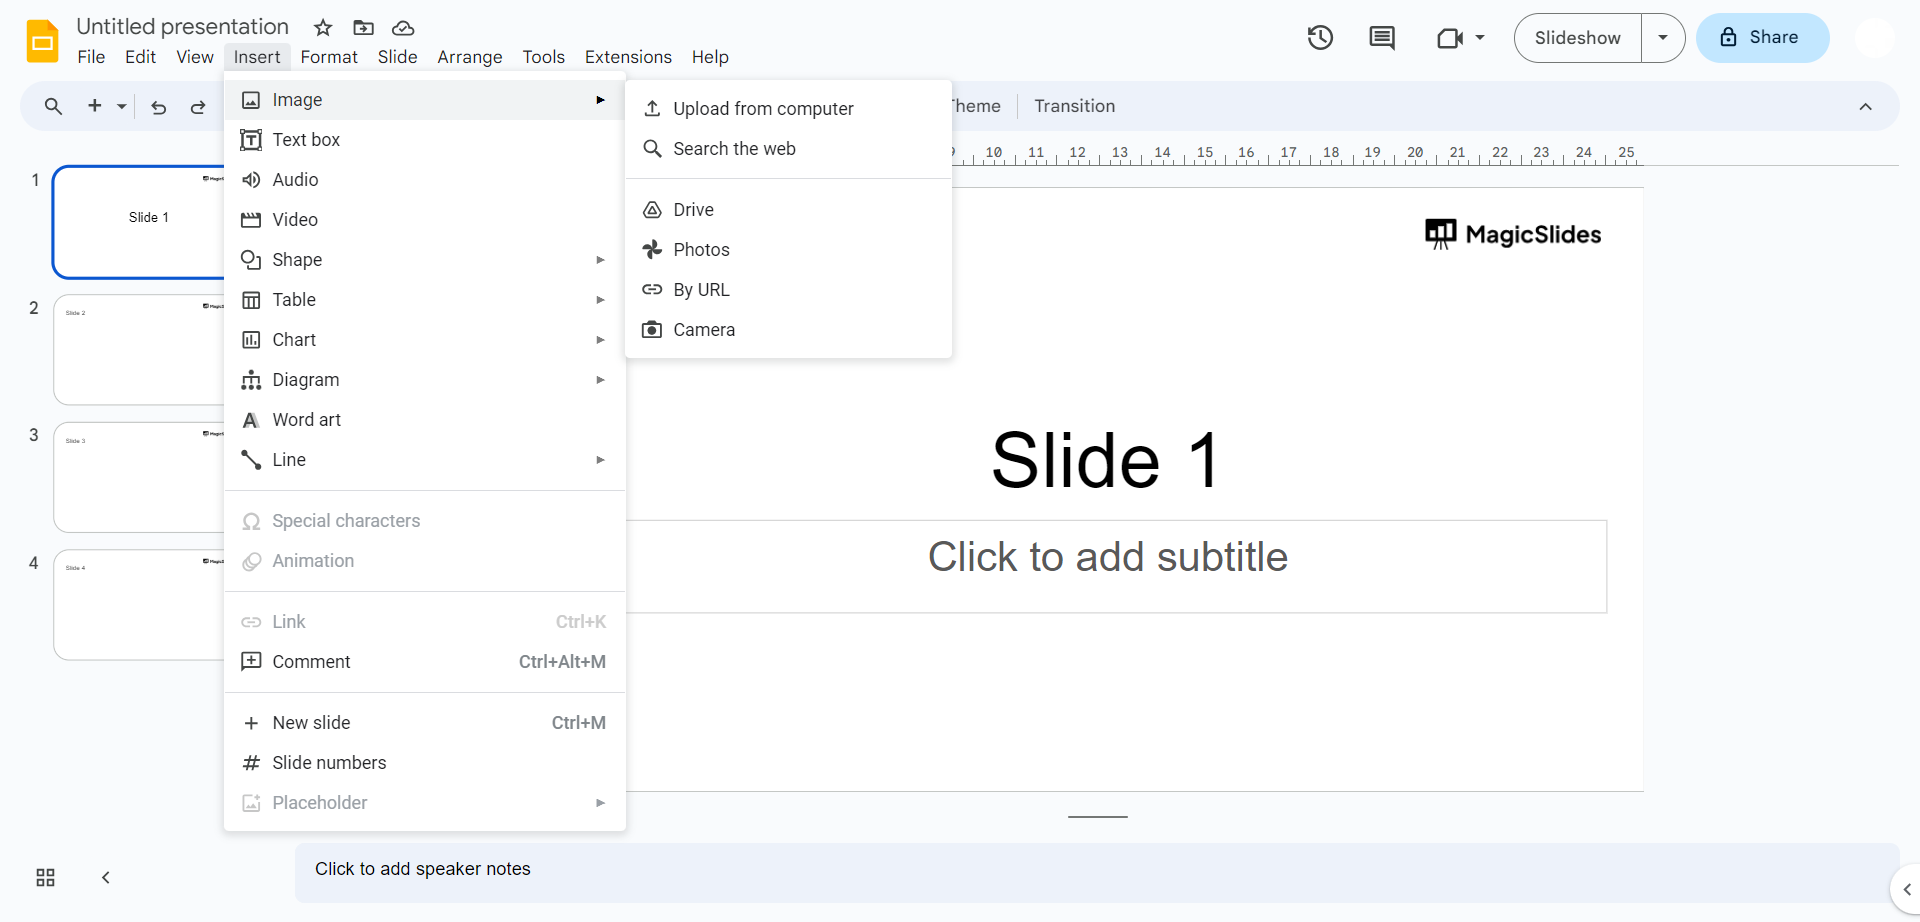
- Choose
Image, and then select the image you want to insert.
Step 2: Position the Image:
- Click on the inserted image to select it.
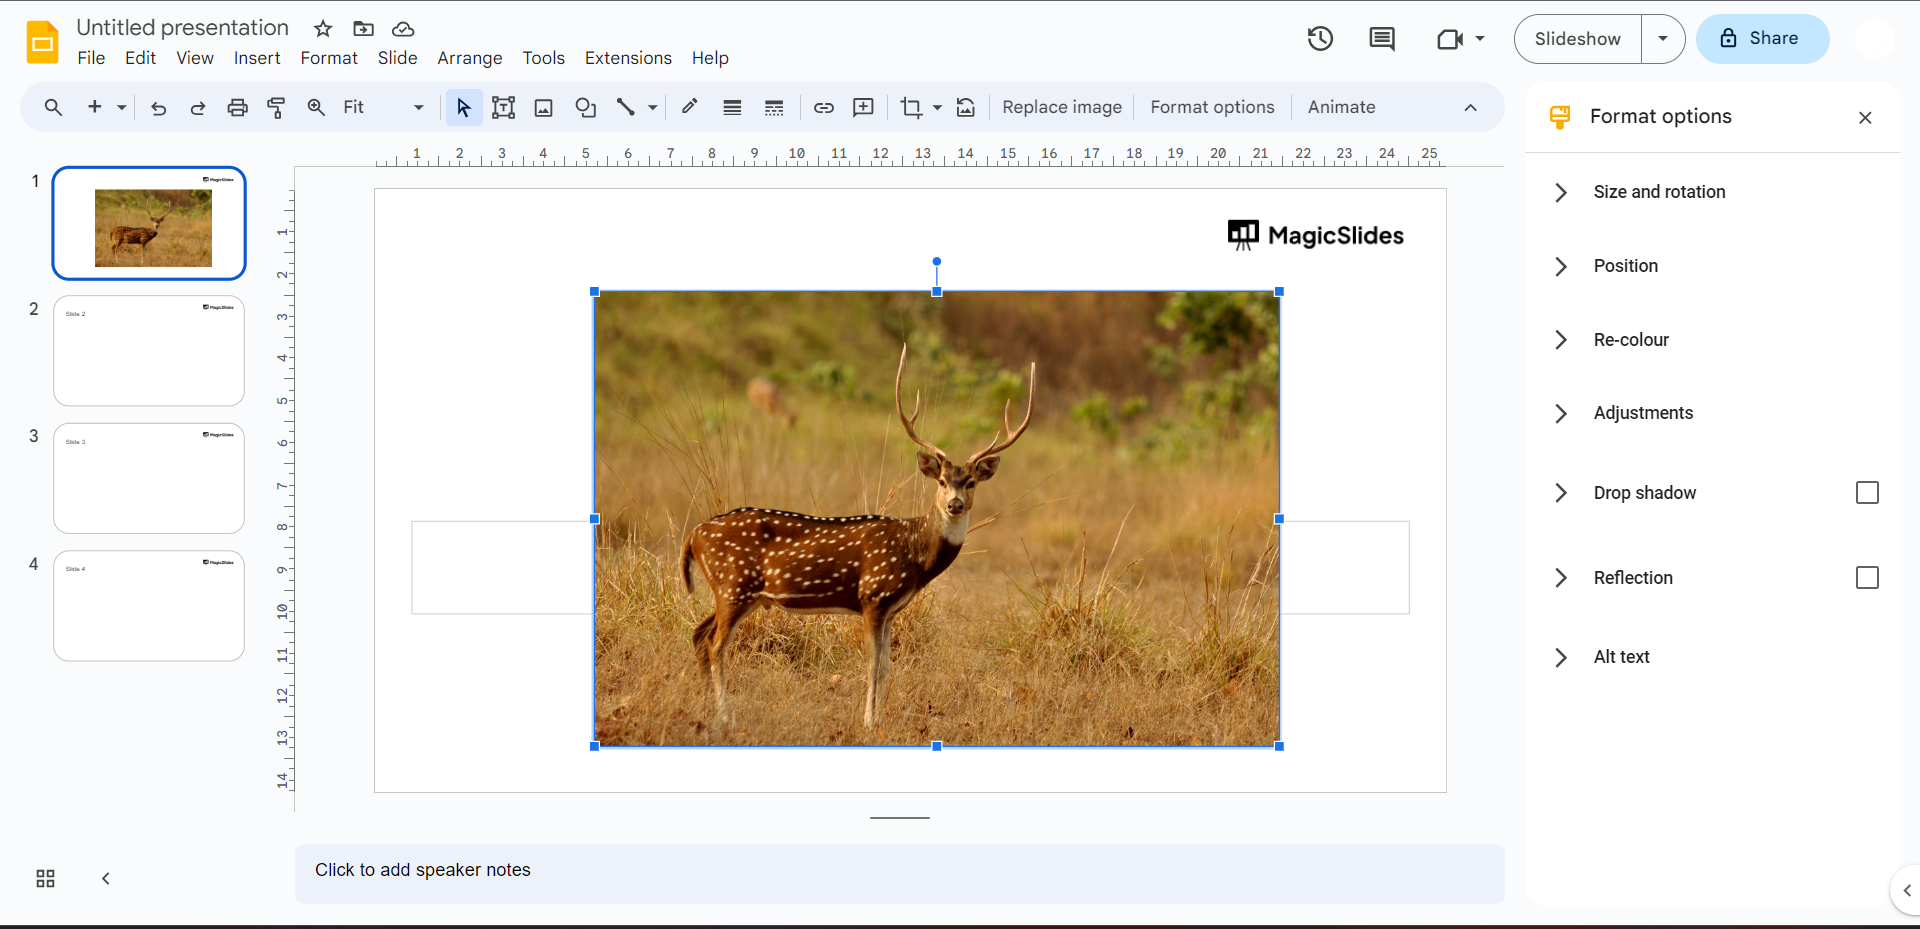
- If the "Format options" pane appears on the right side of the screen, click on the "Arrange" tab within it. If not, right-click the image and select "Format options."
Step 3: Arrange the Image:
- Within the "Arrange" section, you'll find options to arrange the image's position.
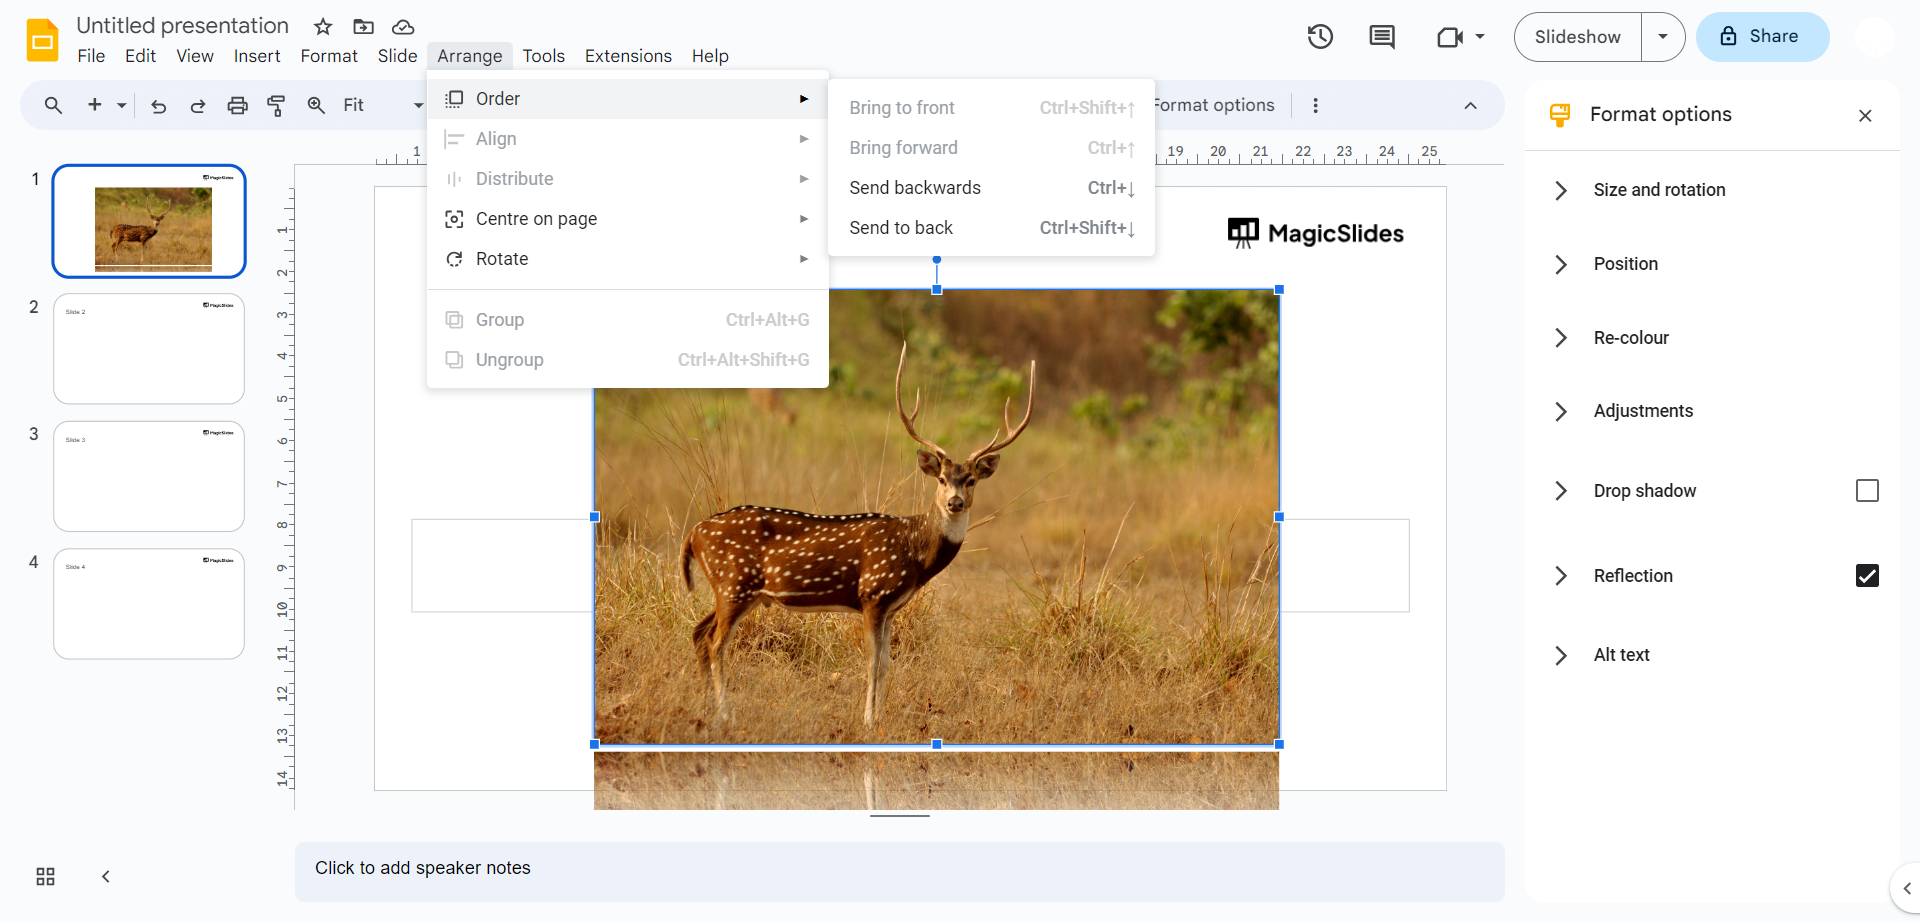
- Look for the "Order" dropdown menu. It might have options like "Order" or "Bring forward" and "Send backward."
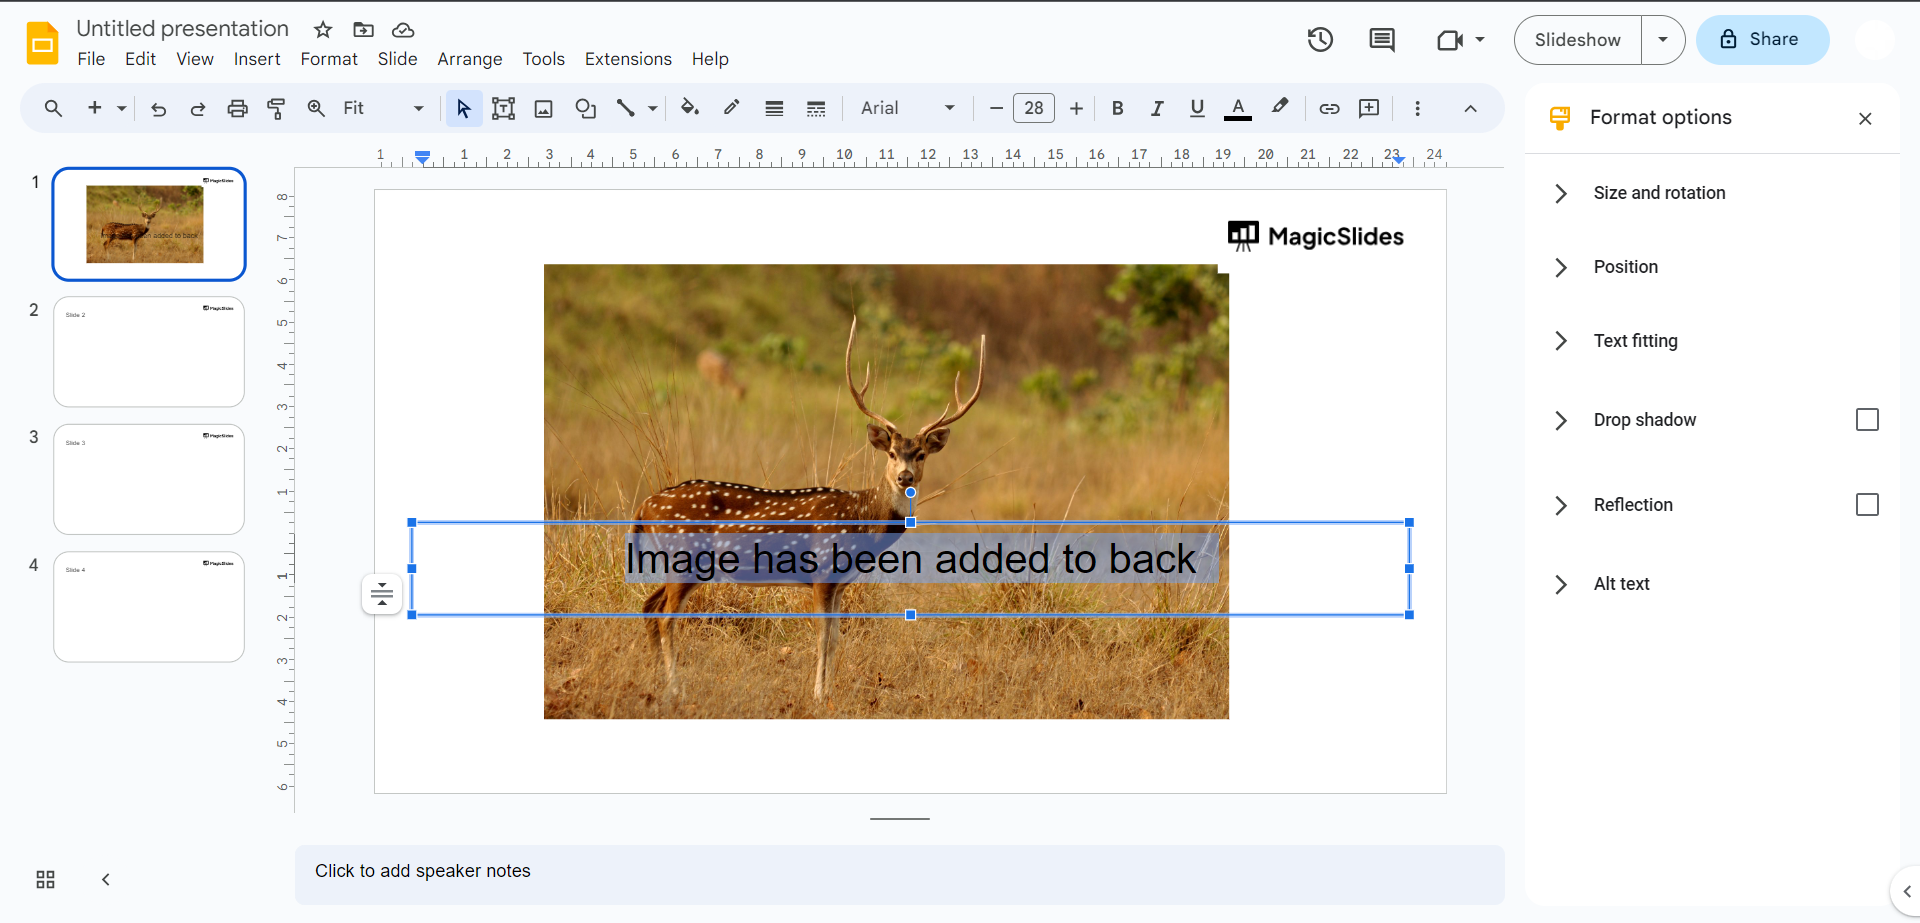
- To move the image to the back, select the "Send backward" option. This should place the image behind other objects on the slide.
Leave a Reply