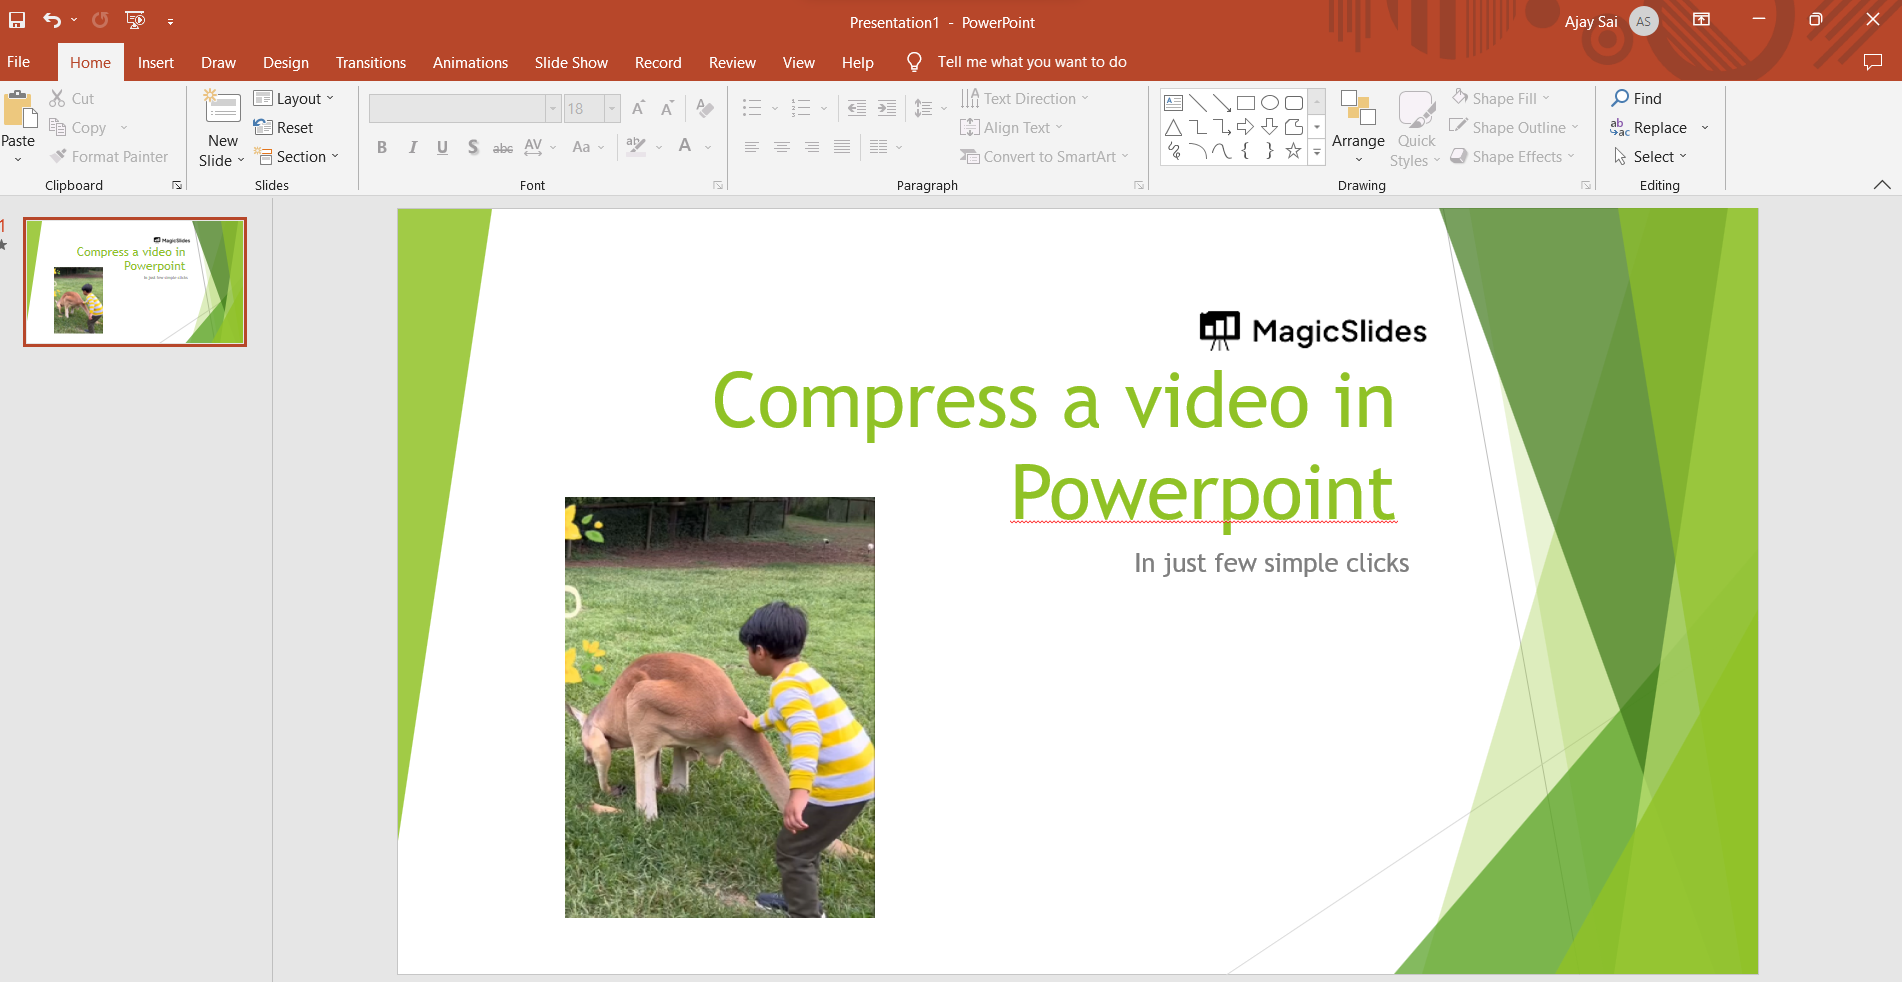
Compressing videos in PowerPoint can help reduce the overall file size of your presentation, making it easier to share and transfer. Here's how you can compress a video in PowerPoint:
Step 1: Open Your PowerPoint Presentation: Open the PowerPoint presentation that contains the video you want to compress.
Step 2: Select the Video: Click on the video in your slide to select it. This will display the "Video Tools" tab in the PowerPoint ribbon at the top of the screen.
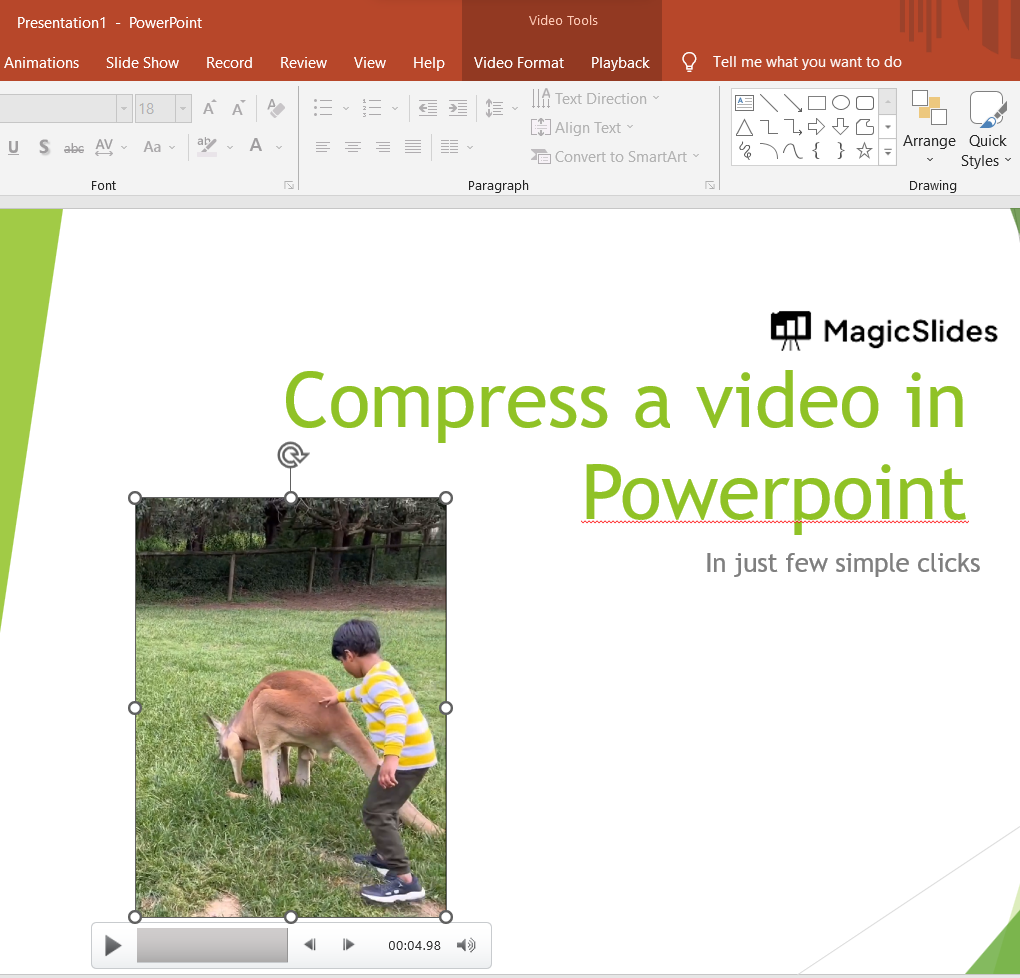
Step 3: Go to the Video Tools Tab: Click on the "Video Tools" tab in the ribbon. This tab appears when you have a video selected.
Step 4: Format Tab: Within the "Video Tools" tab, you will see a "Format" tab. Click on this tab to access the video formatting options. or you go to file tab select info and select compress options overthere.
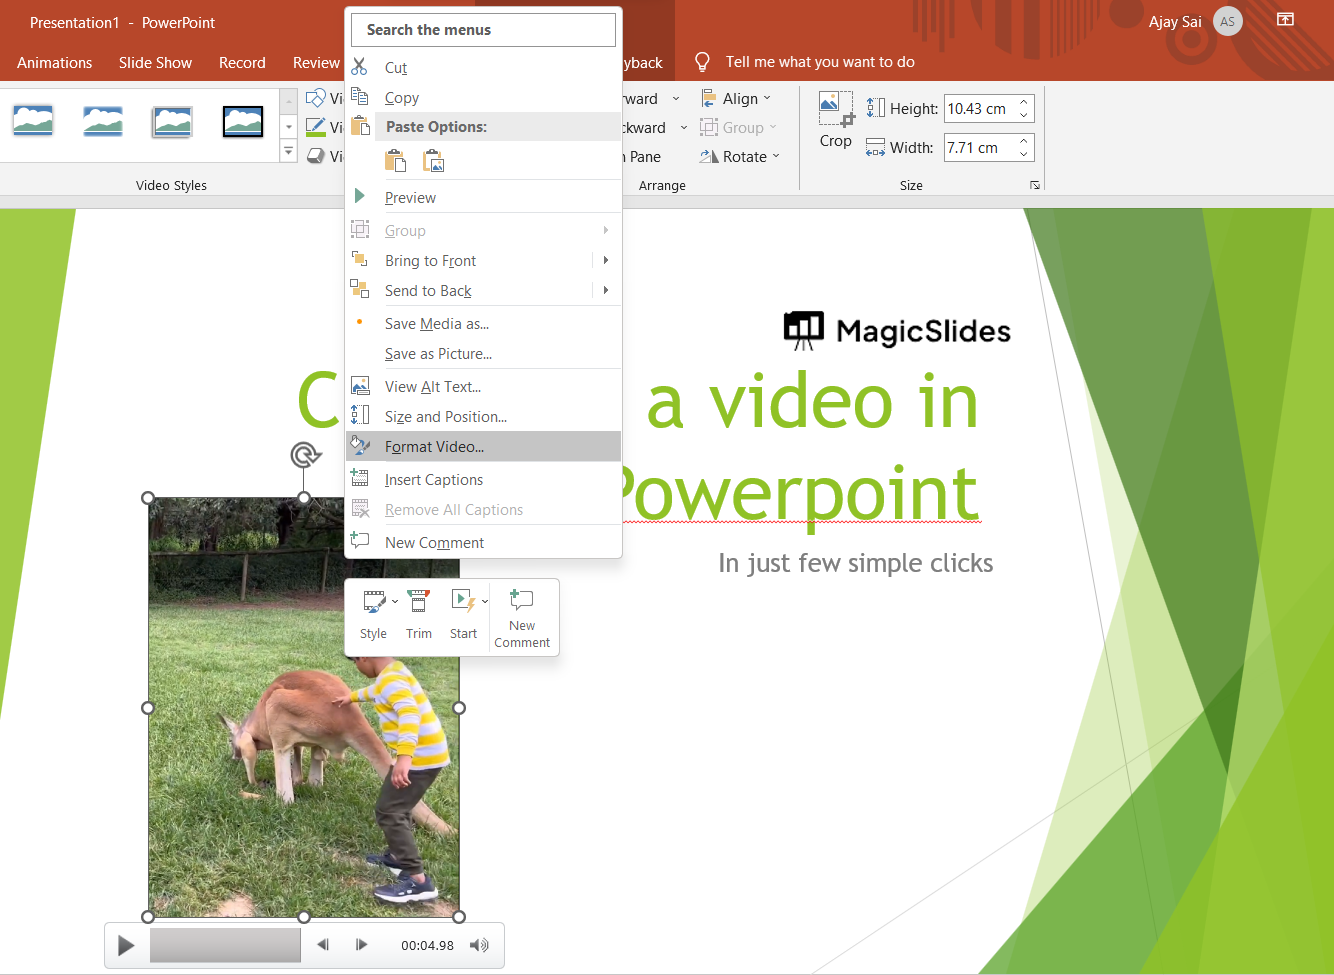
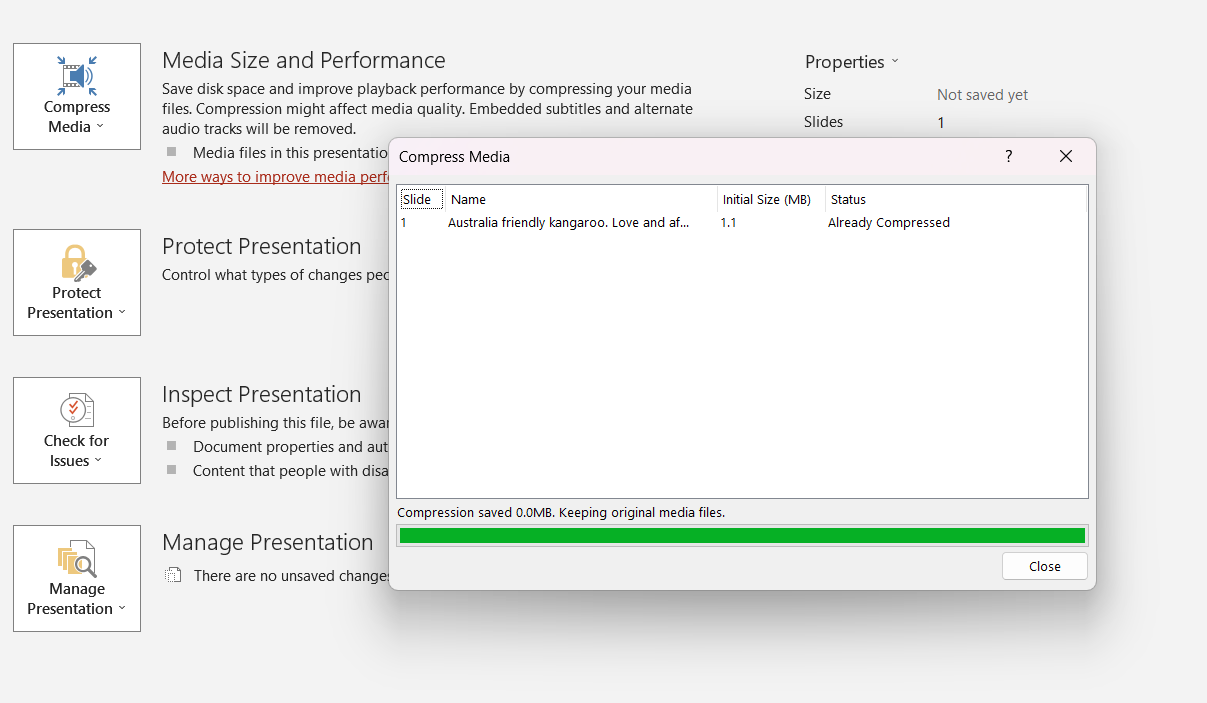
Step 5: Compress Media: In the "Format" tab, you will find the "Compress Media" button. It's usually located in the "Adjust" group.

Step 6: Choose Compression Options: Clicking on the "Compress Media" button will open a menu with compression options. You might see different resolution and quality options. Choose the desired compression settings based on your needs.
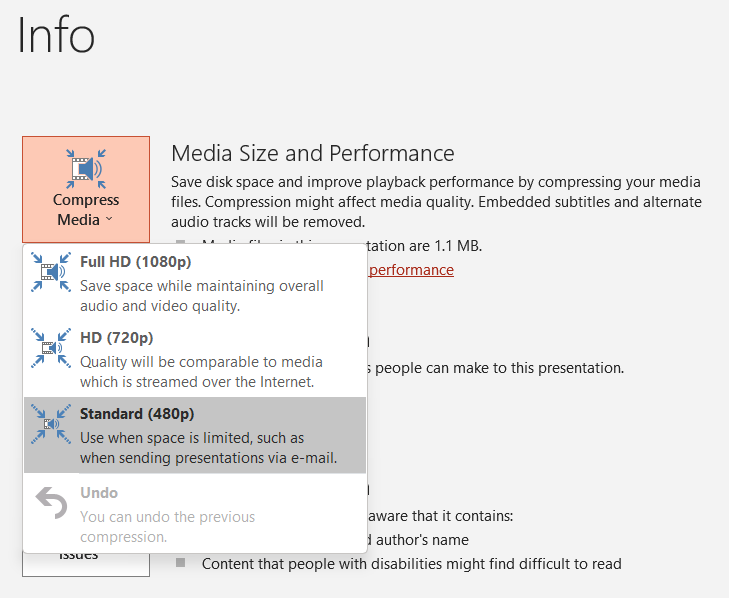
Step 7: Apply Compression: After selecting your compression options, click on the "Apply" button. PowerPoint will then compress the video using the chosen settings.
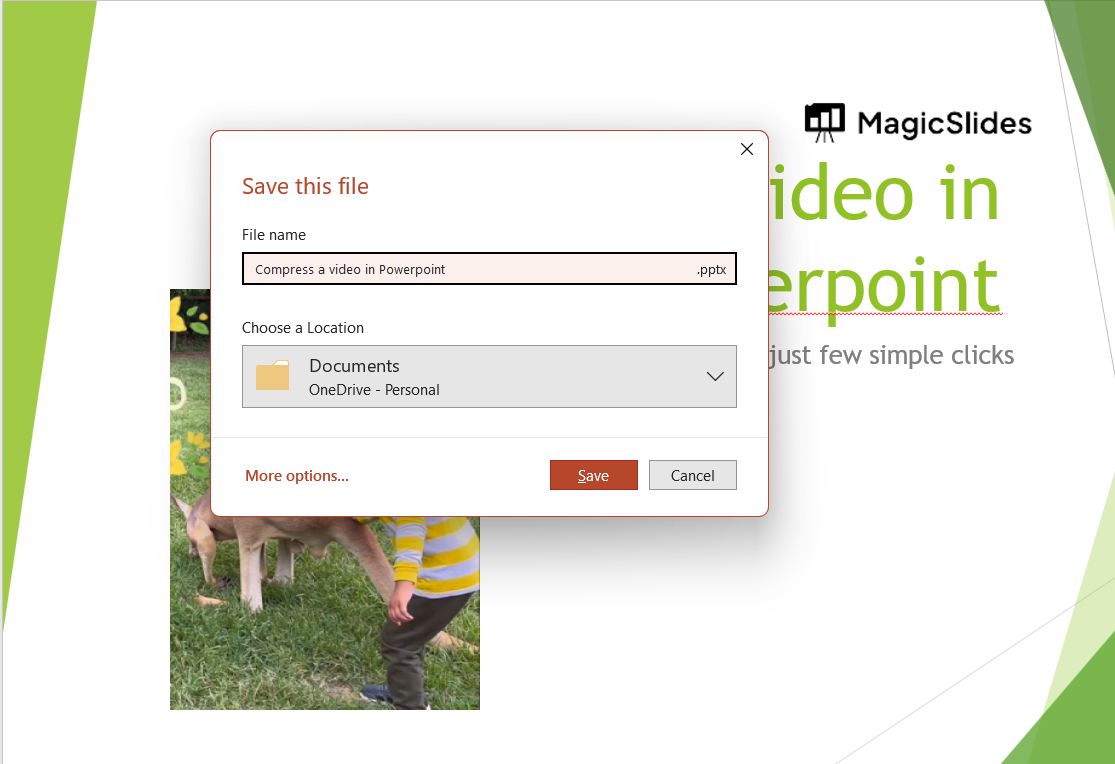
Step 8: Save Your Presentation: Once the compression is applied, make sure to save your presentation with the updated video. You can save it as a new file or overwrite the existing one.
Please note that compressing a video will result in a reduction in video quality to some extent. Before compressing, it's a good idea to make a backup copy of your original presentation in case you want to revert to the original video quality.
Leave a Reply